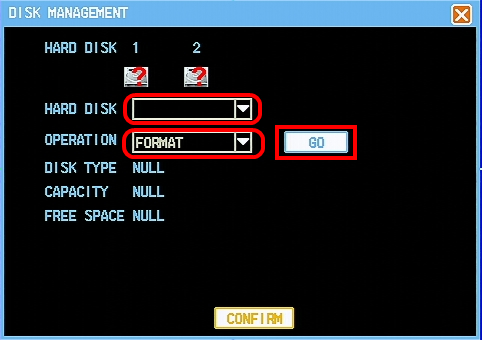
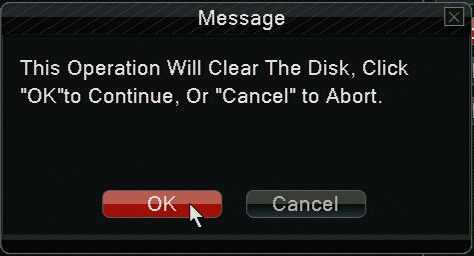
Setting the 8000 and 8100 series DVR's to record is relatvely straight forward. After having turned on the DVR, if the hard-drive is unformatted or you have just installed your own, you will be prompted to format the disk. If you are seeing this prompt click confirm. This format is necesarry in order for the DVR to be able to record at all. If you do not receive this prompt, or another explaining it does not detect a hard-drive it means the DVR is prepared to continue.
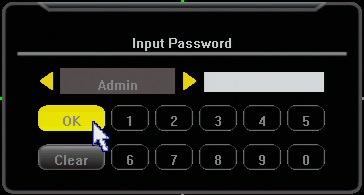
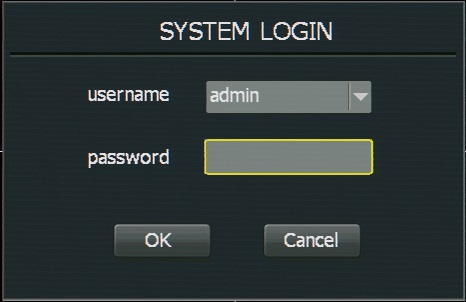
Upon completing the hard-drive format you will be left at the main screen. Right click the mouse hooked up to the DVR and you will be prompted to log in to the DVR as shown below in Figure 1. The default password is 666666. 
[Fig:1]
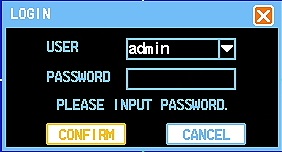
After logging in the log in box will disappear and leave you at the main screen with the cameras. Right click the mouse again to bring up the sub menu as shown below in Figure 2.
Select the "Main Menu" option at the bottom of the sub menu.

[Fig:2]
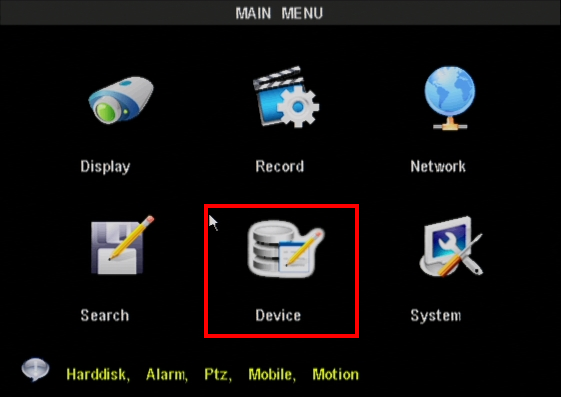
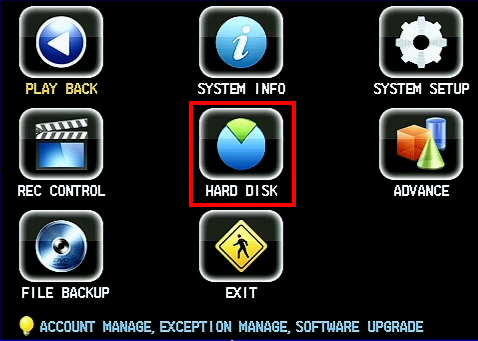
Here you can see the main menu belowThe majority of this setup will take place under the "System Setup" menu section of the main menu.
[Fig: 3]

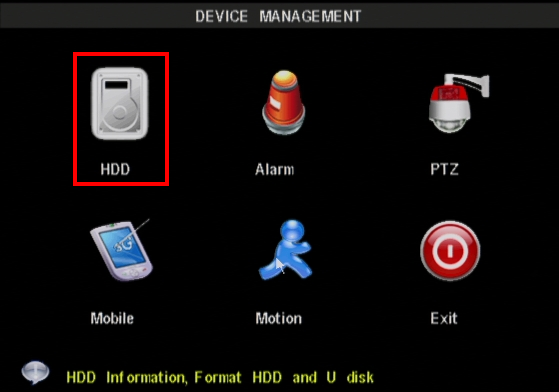
[Fig:4]
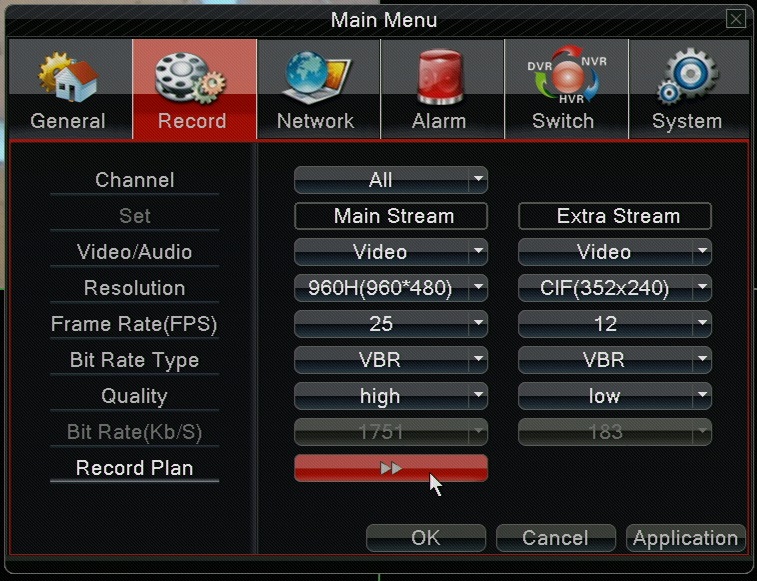
From System Setup the first changes need to occur under the recording menu. When selected you'll see the general recording setup page(shown below in Figure 5).

[Fig: 5]
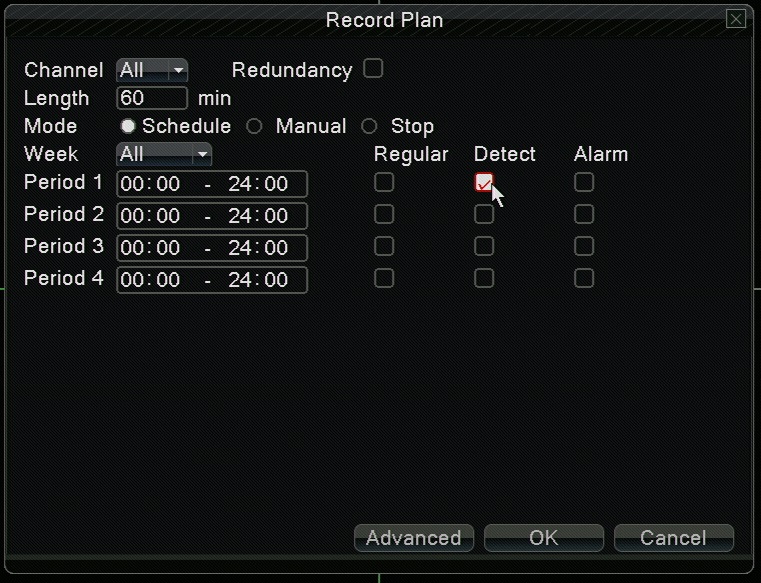
The settings shown above in Figure 5 are settings you will use for a basic motion recording setup. If you are looking to set all of your channels to motion recording select all on the channel line. Alternatively you may set channels up individually. The schedule line is going to allow you to set up the days one by one, or as shown above you can set all days of the week at once to the same schedule(recommended for ease of use). 00:00 to 24:00 means that this setting will be applied for 12am through 11:59pm. Select the motion box to the right of the time schedule as shown above and select save.
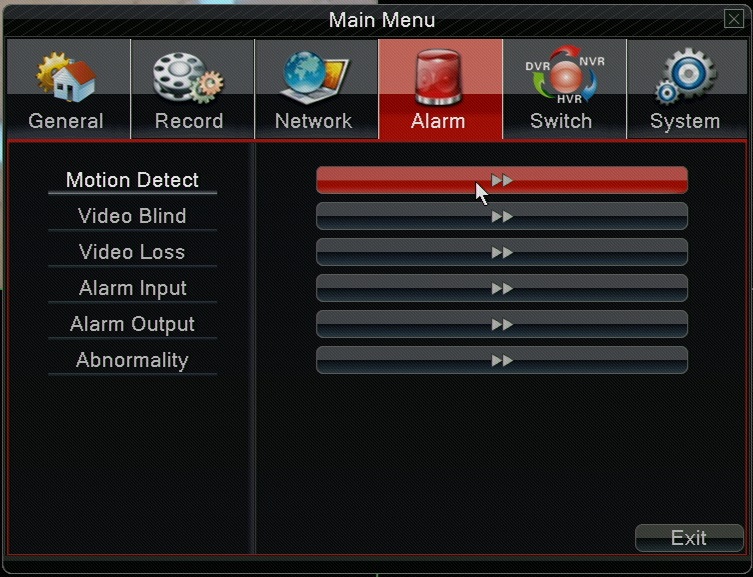
Once you have saved these settings click the exit button to return to the System Setup menu again(Figure 4). This time we will select the "Detection" option in the menu. You can see this menu below as well in Figure 6.

[Fig: 6]
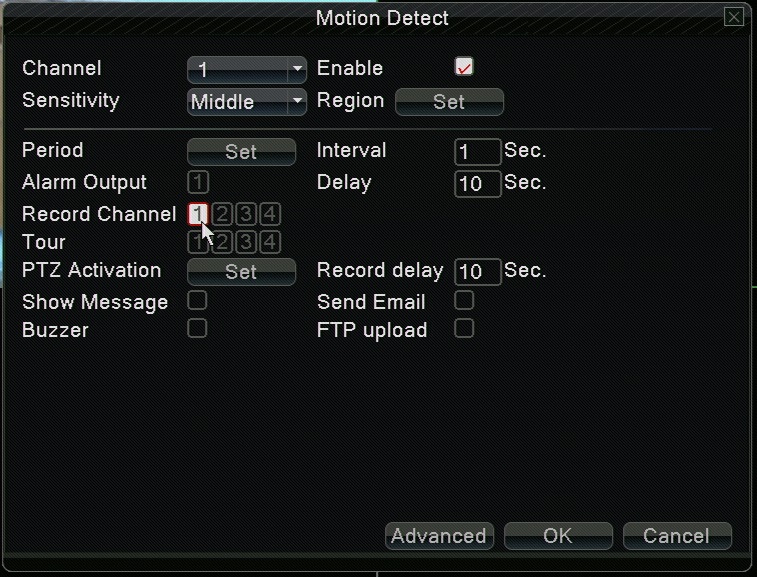
From this menu, although it is by default configured the way it needs to be for basic motion setup, you may adjust the sensitivity of the motion detection, as well as which cameras will be triggered to record. For example above we have channel 1 selected on the Channel line. The channels that you select on the "recording ch" line are what will begin recording when motion is detected on channel 1.
If you click the "setup" button next to region it will show you the active area for motion detection on the channel selected to the left of that line. Below(Figure 7) you can see this area setup. The area in green is active motion detection and the area in which the camera image shows through cleanly will disregard motion when it comes through. You can use this to block out a busy street in an image or other similar situations.

[Fig: 7]
When configured to your liking click the red "X" and it will return you to the previous page. From here you may now click "Save" to confirm your settings. You may now exit all the way out of the menu and back to the main screen.
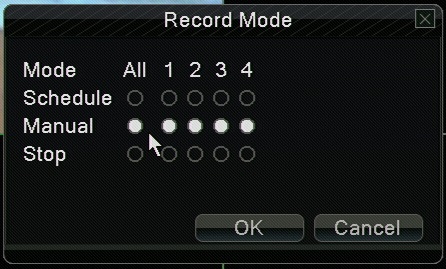
Again we will now right click the mouse to bring up the sub menu as shown in Figure 2. From the sub menu choose the "Set Recording" option. You will receive a prompt giving you the option to set recording to either automatic recording, manual recording, or stop recording. You will select the "Automatic" option by clicking the "ALL" button as shown below.

[Fig: 8]
After the selection is made you will click "Confirm" to finalize the setting. You will see a confirmation prompt letting you know you have succesfully changed the setting.

[Fig: 9]
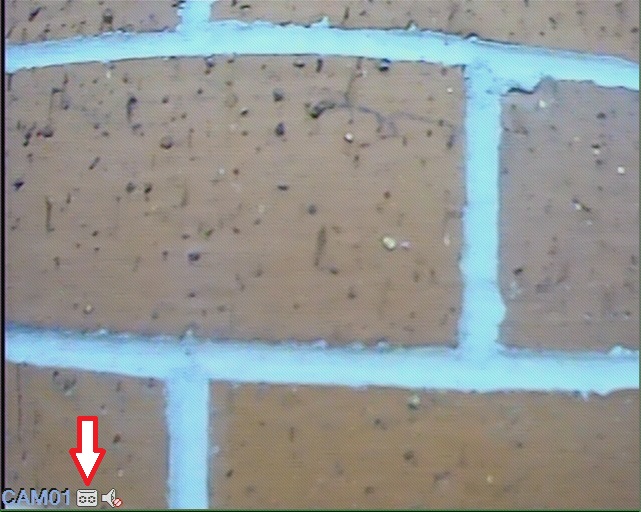
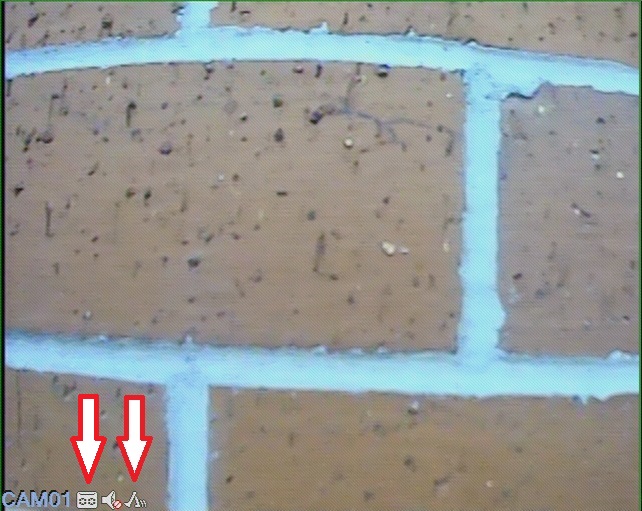
You have now successully set your DVR to record on motion. When motion does occur you will see icons appear on the camera image. The first is a green "R" indicating that it has begun recording, this will only be there when motion has triggered it or for a short period after motion has ended in the image. The other Icon will be a set of yellow arrows. These arrows indicate that motion is currently occuring in the camera image. You may see these below in the provided image.


 .
.