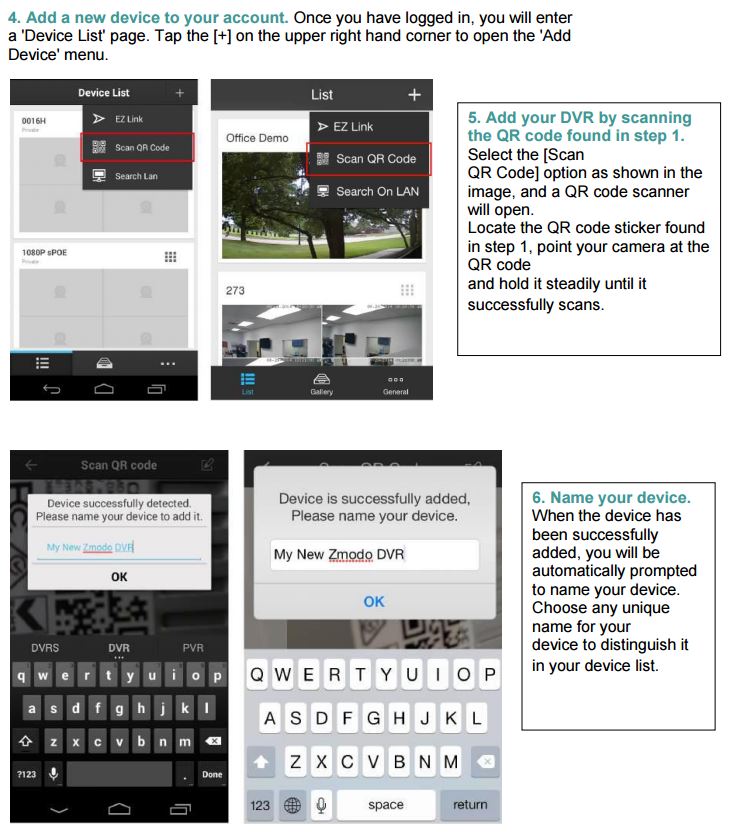
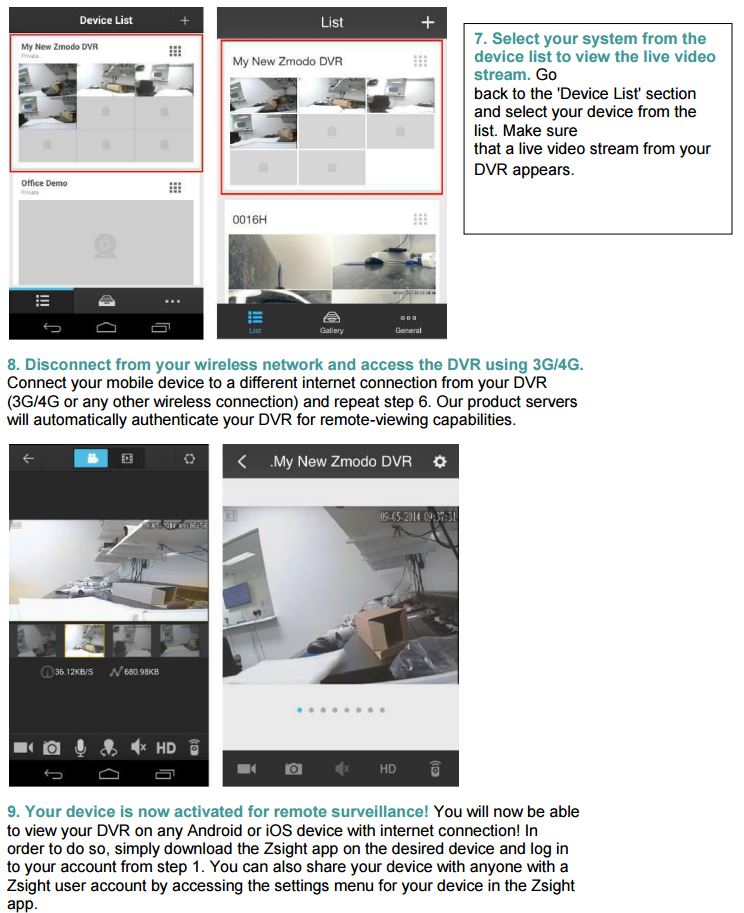
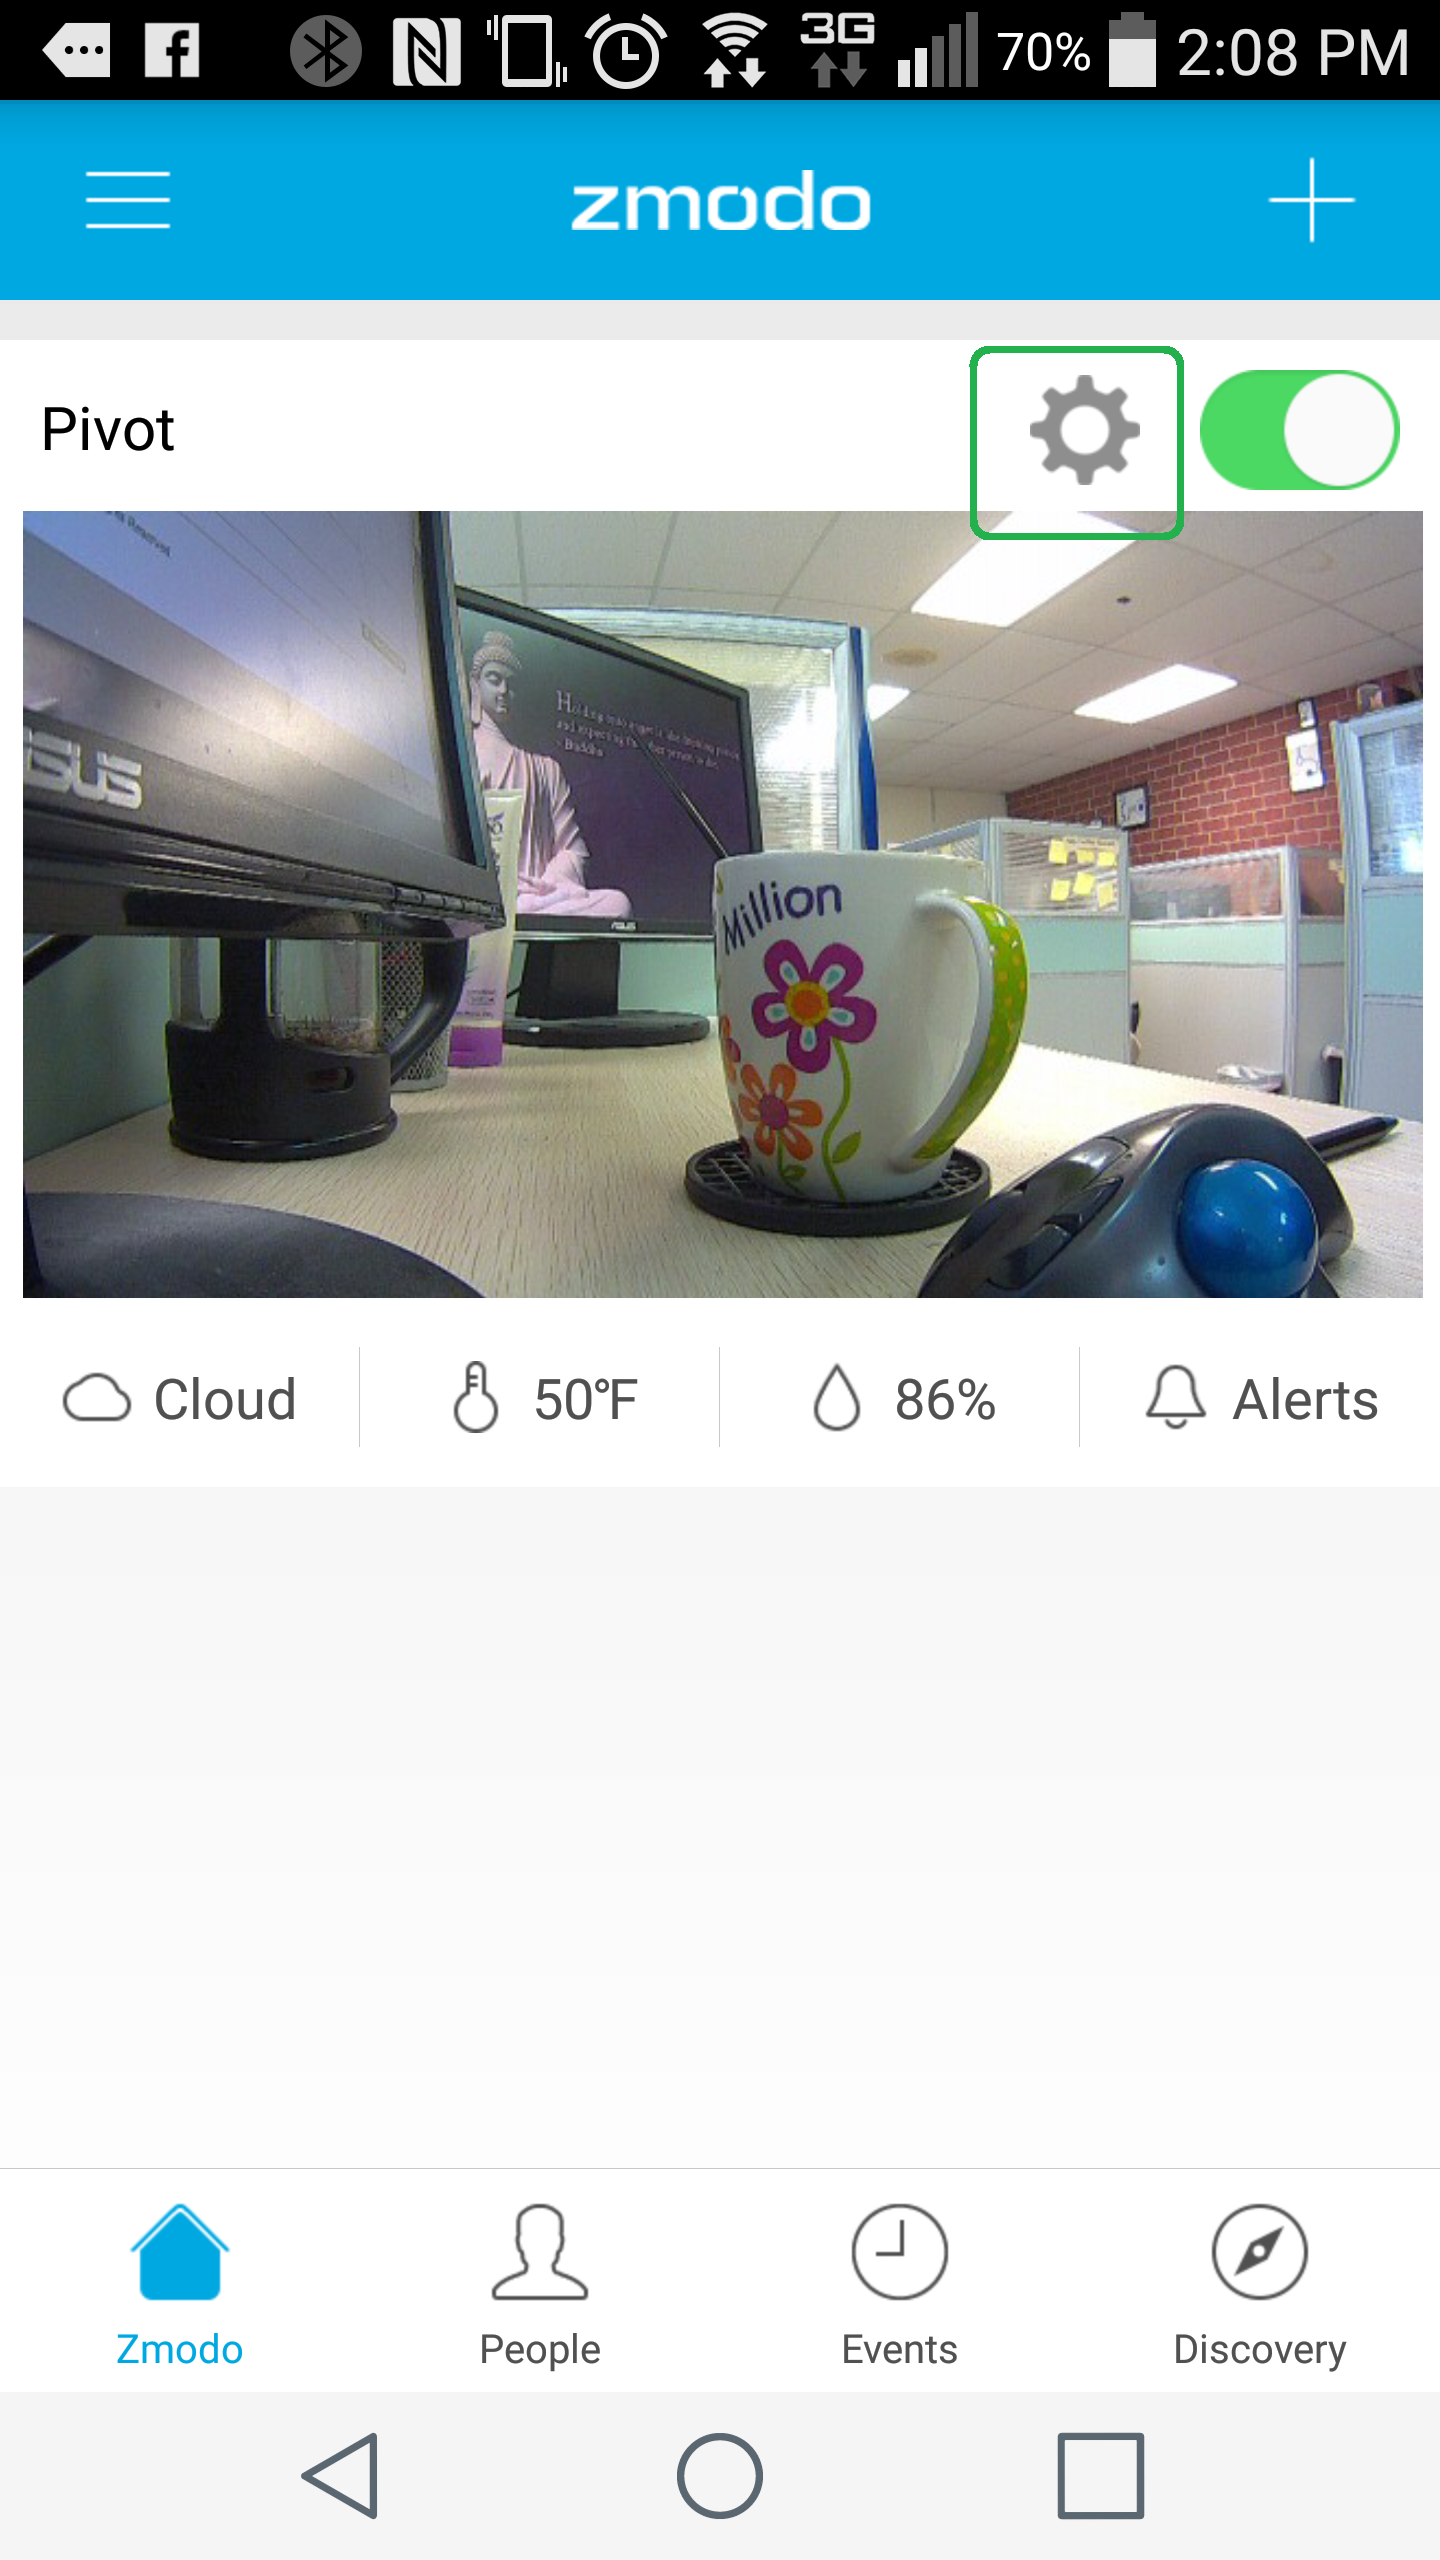
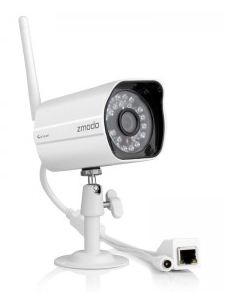
Several wireless IP cameras have a port to plug in an Ethernet cable. The purpose of this LAN cable port is to complete the setup process of your wireless camera. After the short setup process is complete, you may disconnect the Ethernet cable from this LAN port so that the camera communicates with your router wirelessly.
Connection Steps
1. Connect the included power adapter to the IP Camera.
2. Connect the IP Camera to a LAN port in your router using a network cable. The IP Camera must first be connected to the router with a cable, in order to configure the Wi-Fi IP Camera settings.
3. Connect the WAN port in your router to Internet, an indicator light will show when the camera has power and Internet access.
Next, you will need to install and run this IPC search tool on your Windows computer. (http://surveillance.zmodo.com/downloader/index/download/file_id/3838/) Your computer must be using the same router the cameras are using.
IPC Search Tool
1. Click on the Refresh button until your cameras appear in the list.
2. Next, right click on the Device name and click Networking.
3. Then click on the WIFI tab.
4. Select your wireless network name by double clicking the name.
5. Enter your wireless password.
6. Finally, click establish connection. Wait for a success or failure reply.
7. If successful, you should be able to remove Ethernet cable from camera to router
and still find your camera in the IPC search tool when refresh button is pressed.
If your cameras do not appear in the Search tool, you will need to reset the
camera. This can be done by pressing the reset button.
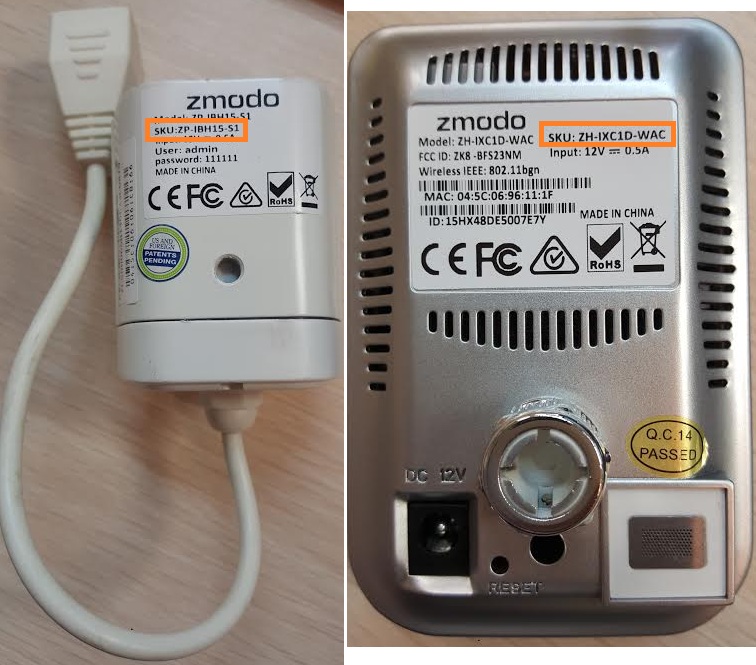
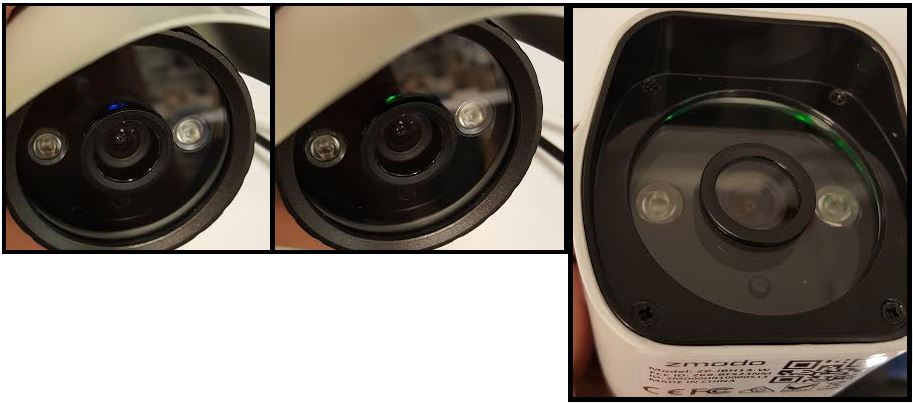
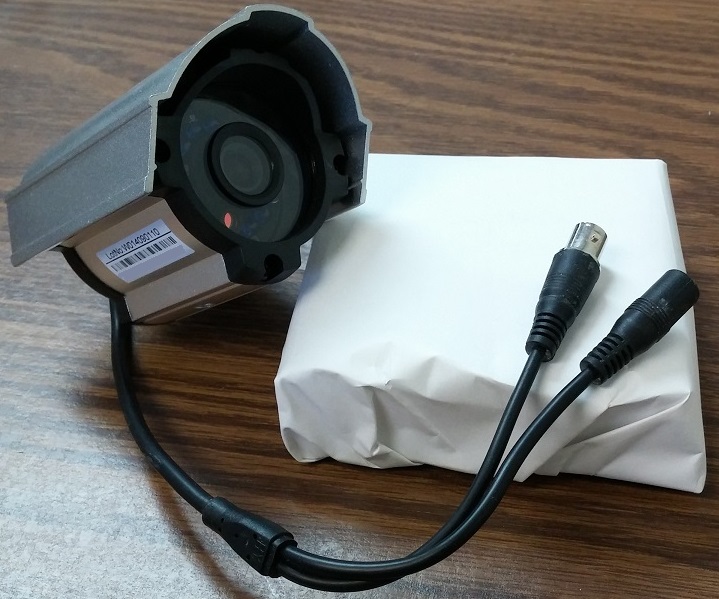
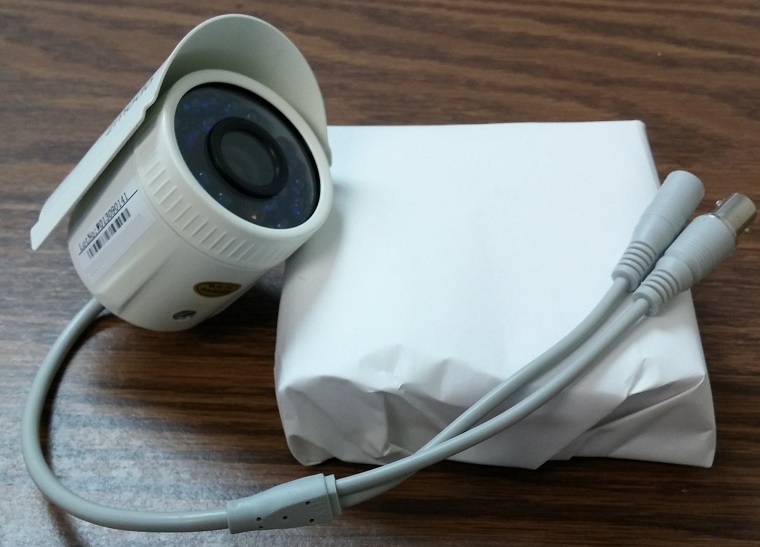
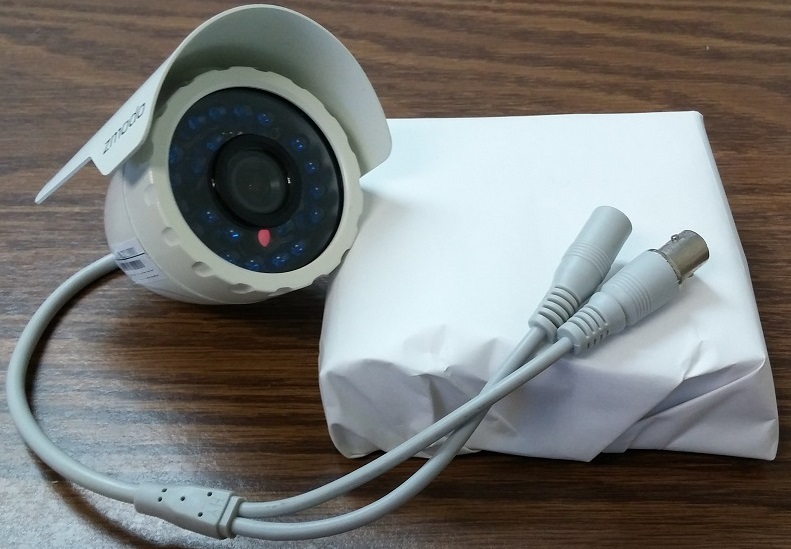
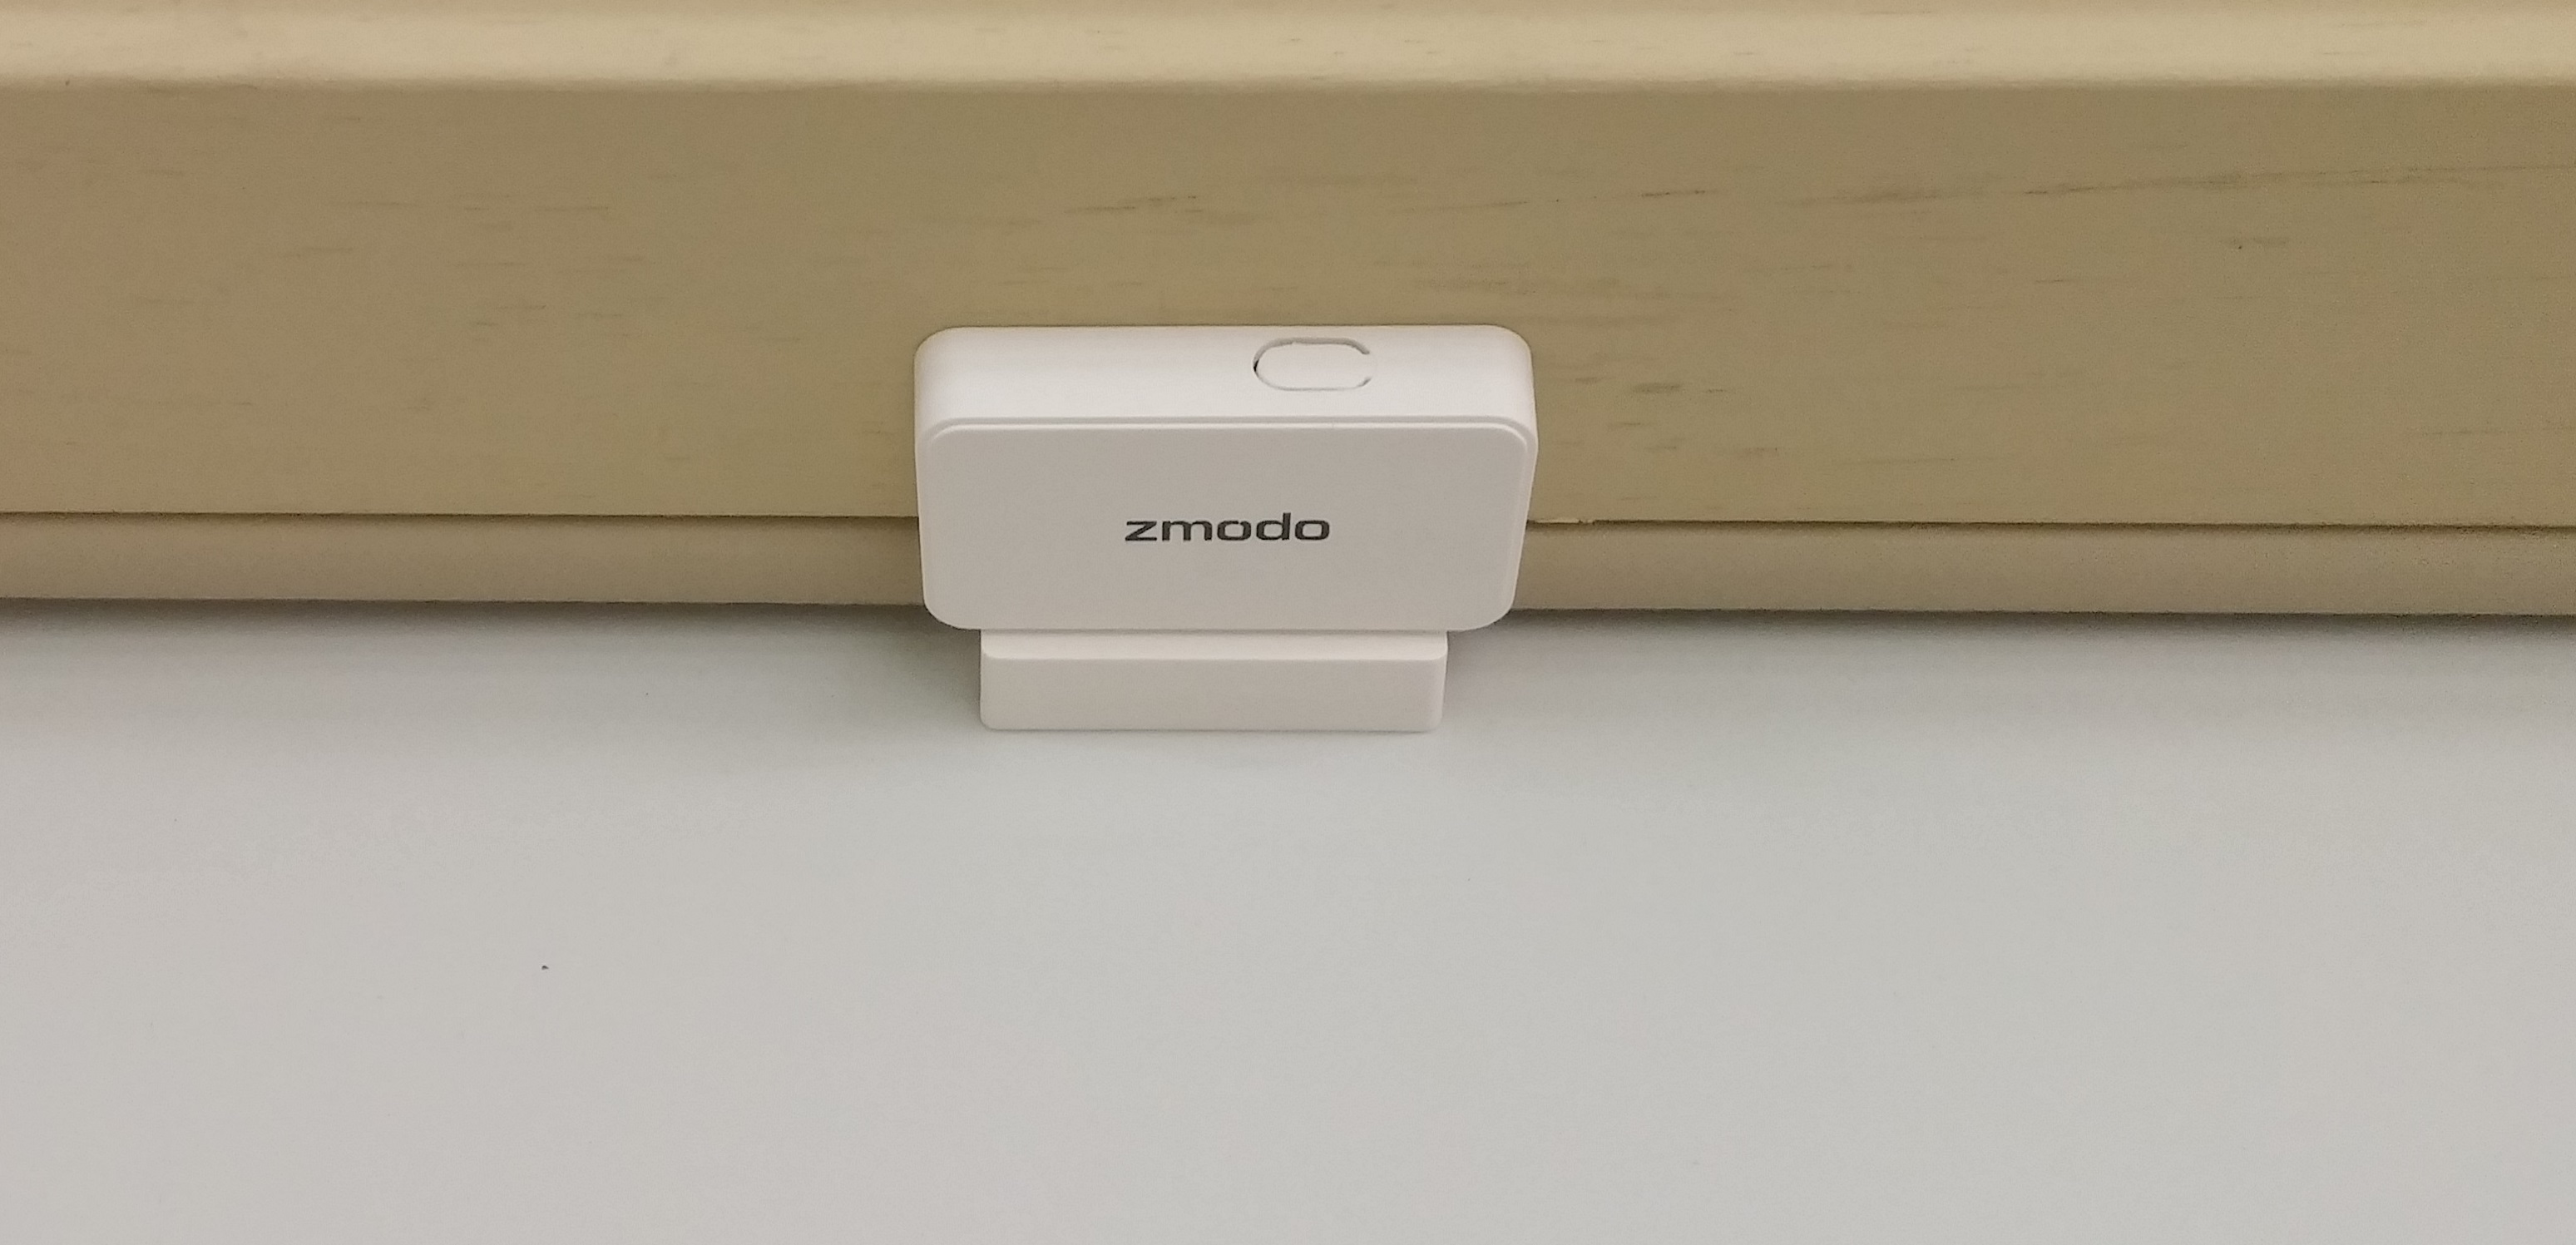
ZP-IBI13-W, ZP-IBI13-W, CS-S1U-W Reset button is located in one of the cables
that comes out of the camera.
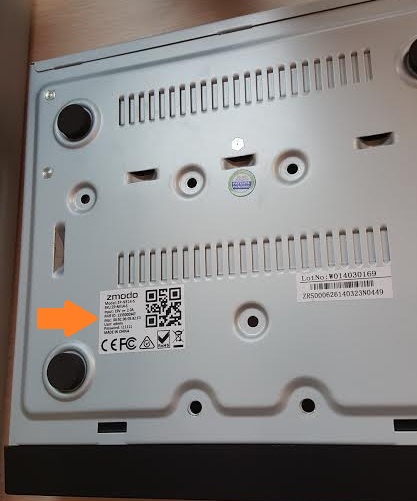
ZH-IXA15-WAC Reset button is a small hole labeled on back of camera. You will need to insert a pen or bent paper clip into the hole.
Press and hold the button for about 30 seconds while the camera is powered on and connected to the router. The camera will power cycle when the reset is successful. Run the Search again or start at step 1 above. It may take a few minutes for the reset to complete. Keep clicking on the refresh button until the cameras appear. If the reset was successful the cameras should appear in the Search tool.
______________________________________________________________________
If the IPC Search Tool Fails to download, copy and paste this link into your browser;
http://files.zmodo.com/Software%20Files/NVR%20Tools/IPCSearch1.0.15_Setup.exe