Quantcast
Channel: Zmodo Knowledge Base - Latest FAQs
Viewing all 208 articles
Browse latest View live

How to Set up the Pivot

$
0
0

In order to install your Pivot, you will need.

  • Zmodo Pivot
  • Existing 2.4GHz wireless network with an internet connection with an upload speed of at least 1Mbps
  • Either an android or an iOS smartphone with the Zmodo app installed


To connect your Zmodo Pivot, ensure your phone is connected to the existing 2.4GHz wireless network that you plan to connect the Pivot to.

Connect the power supply to your Pivot, and wait until the indicator ring on the top is blinking green, this indicates tha Pivot is ready to connect.

Open the Zmodo app on your smartphone, and log in to your account. If you have not already created and account, create one now.

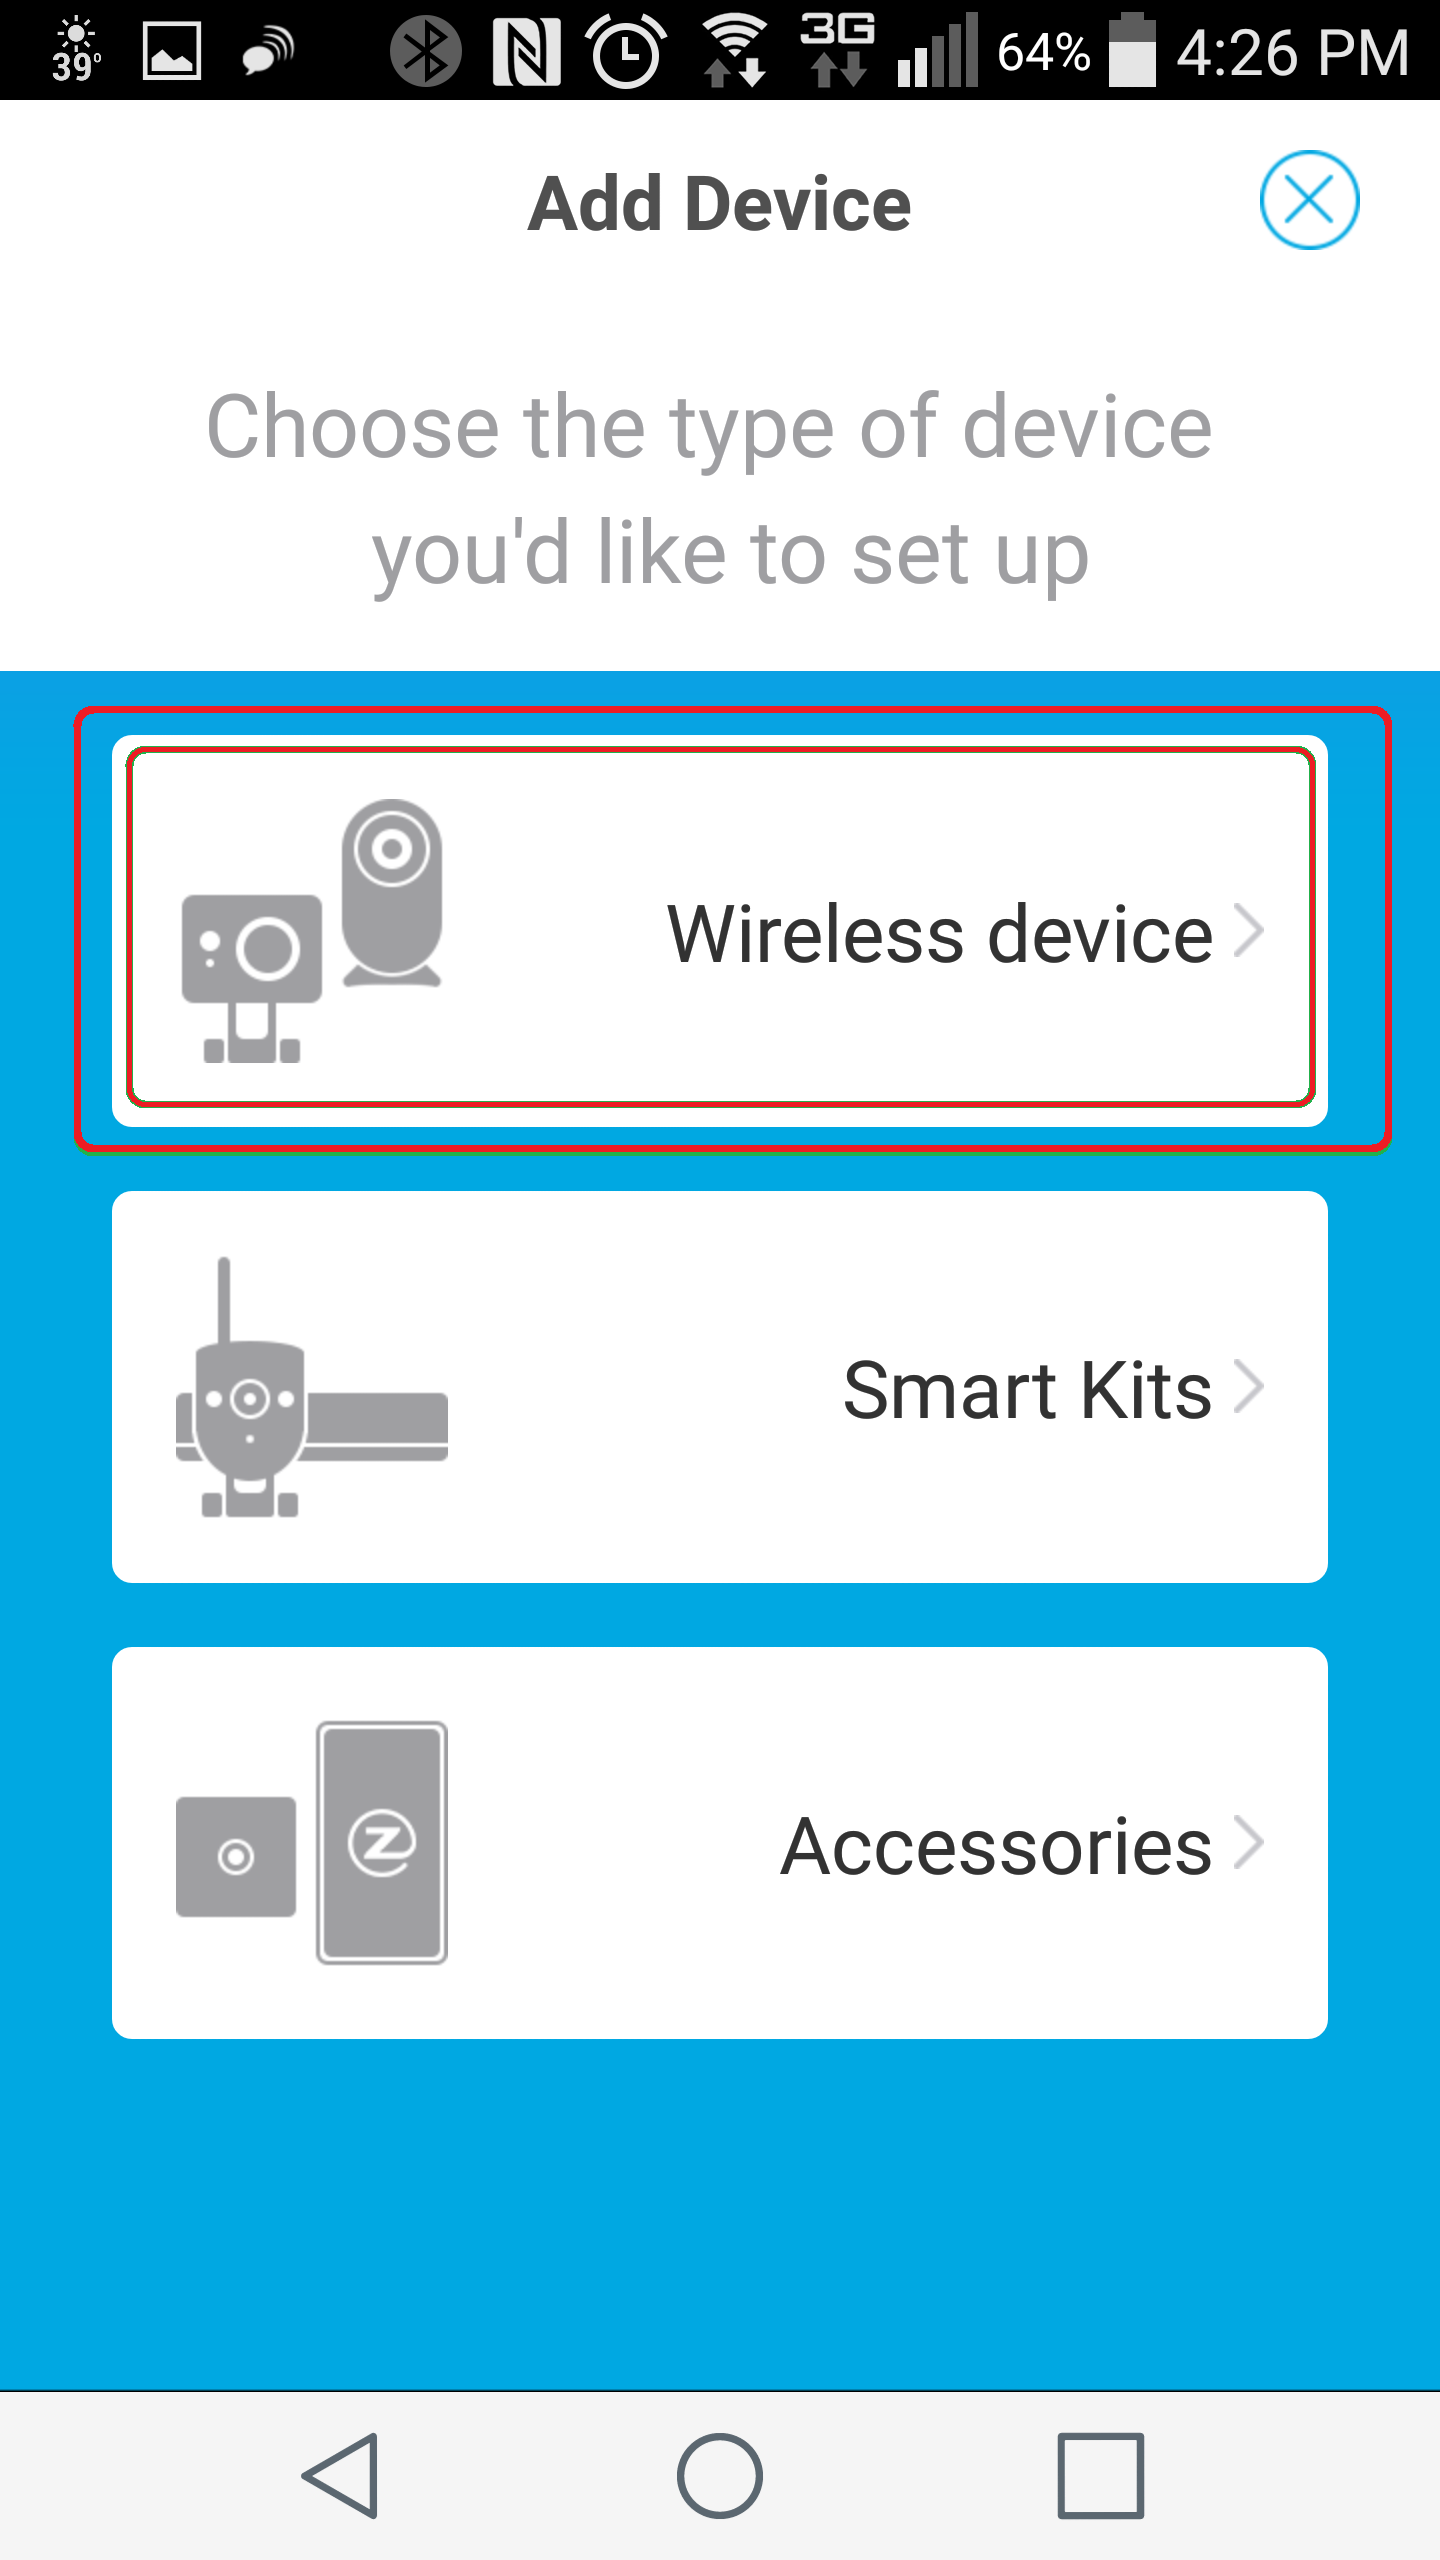
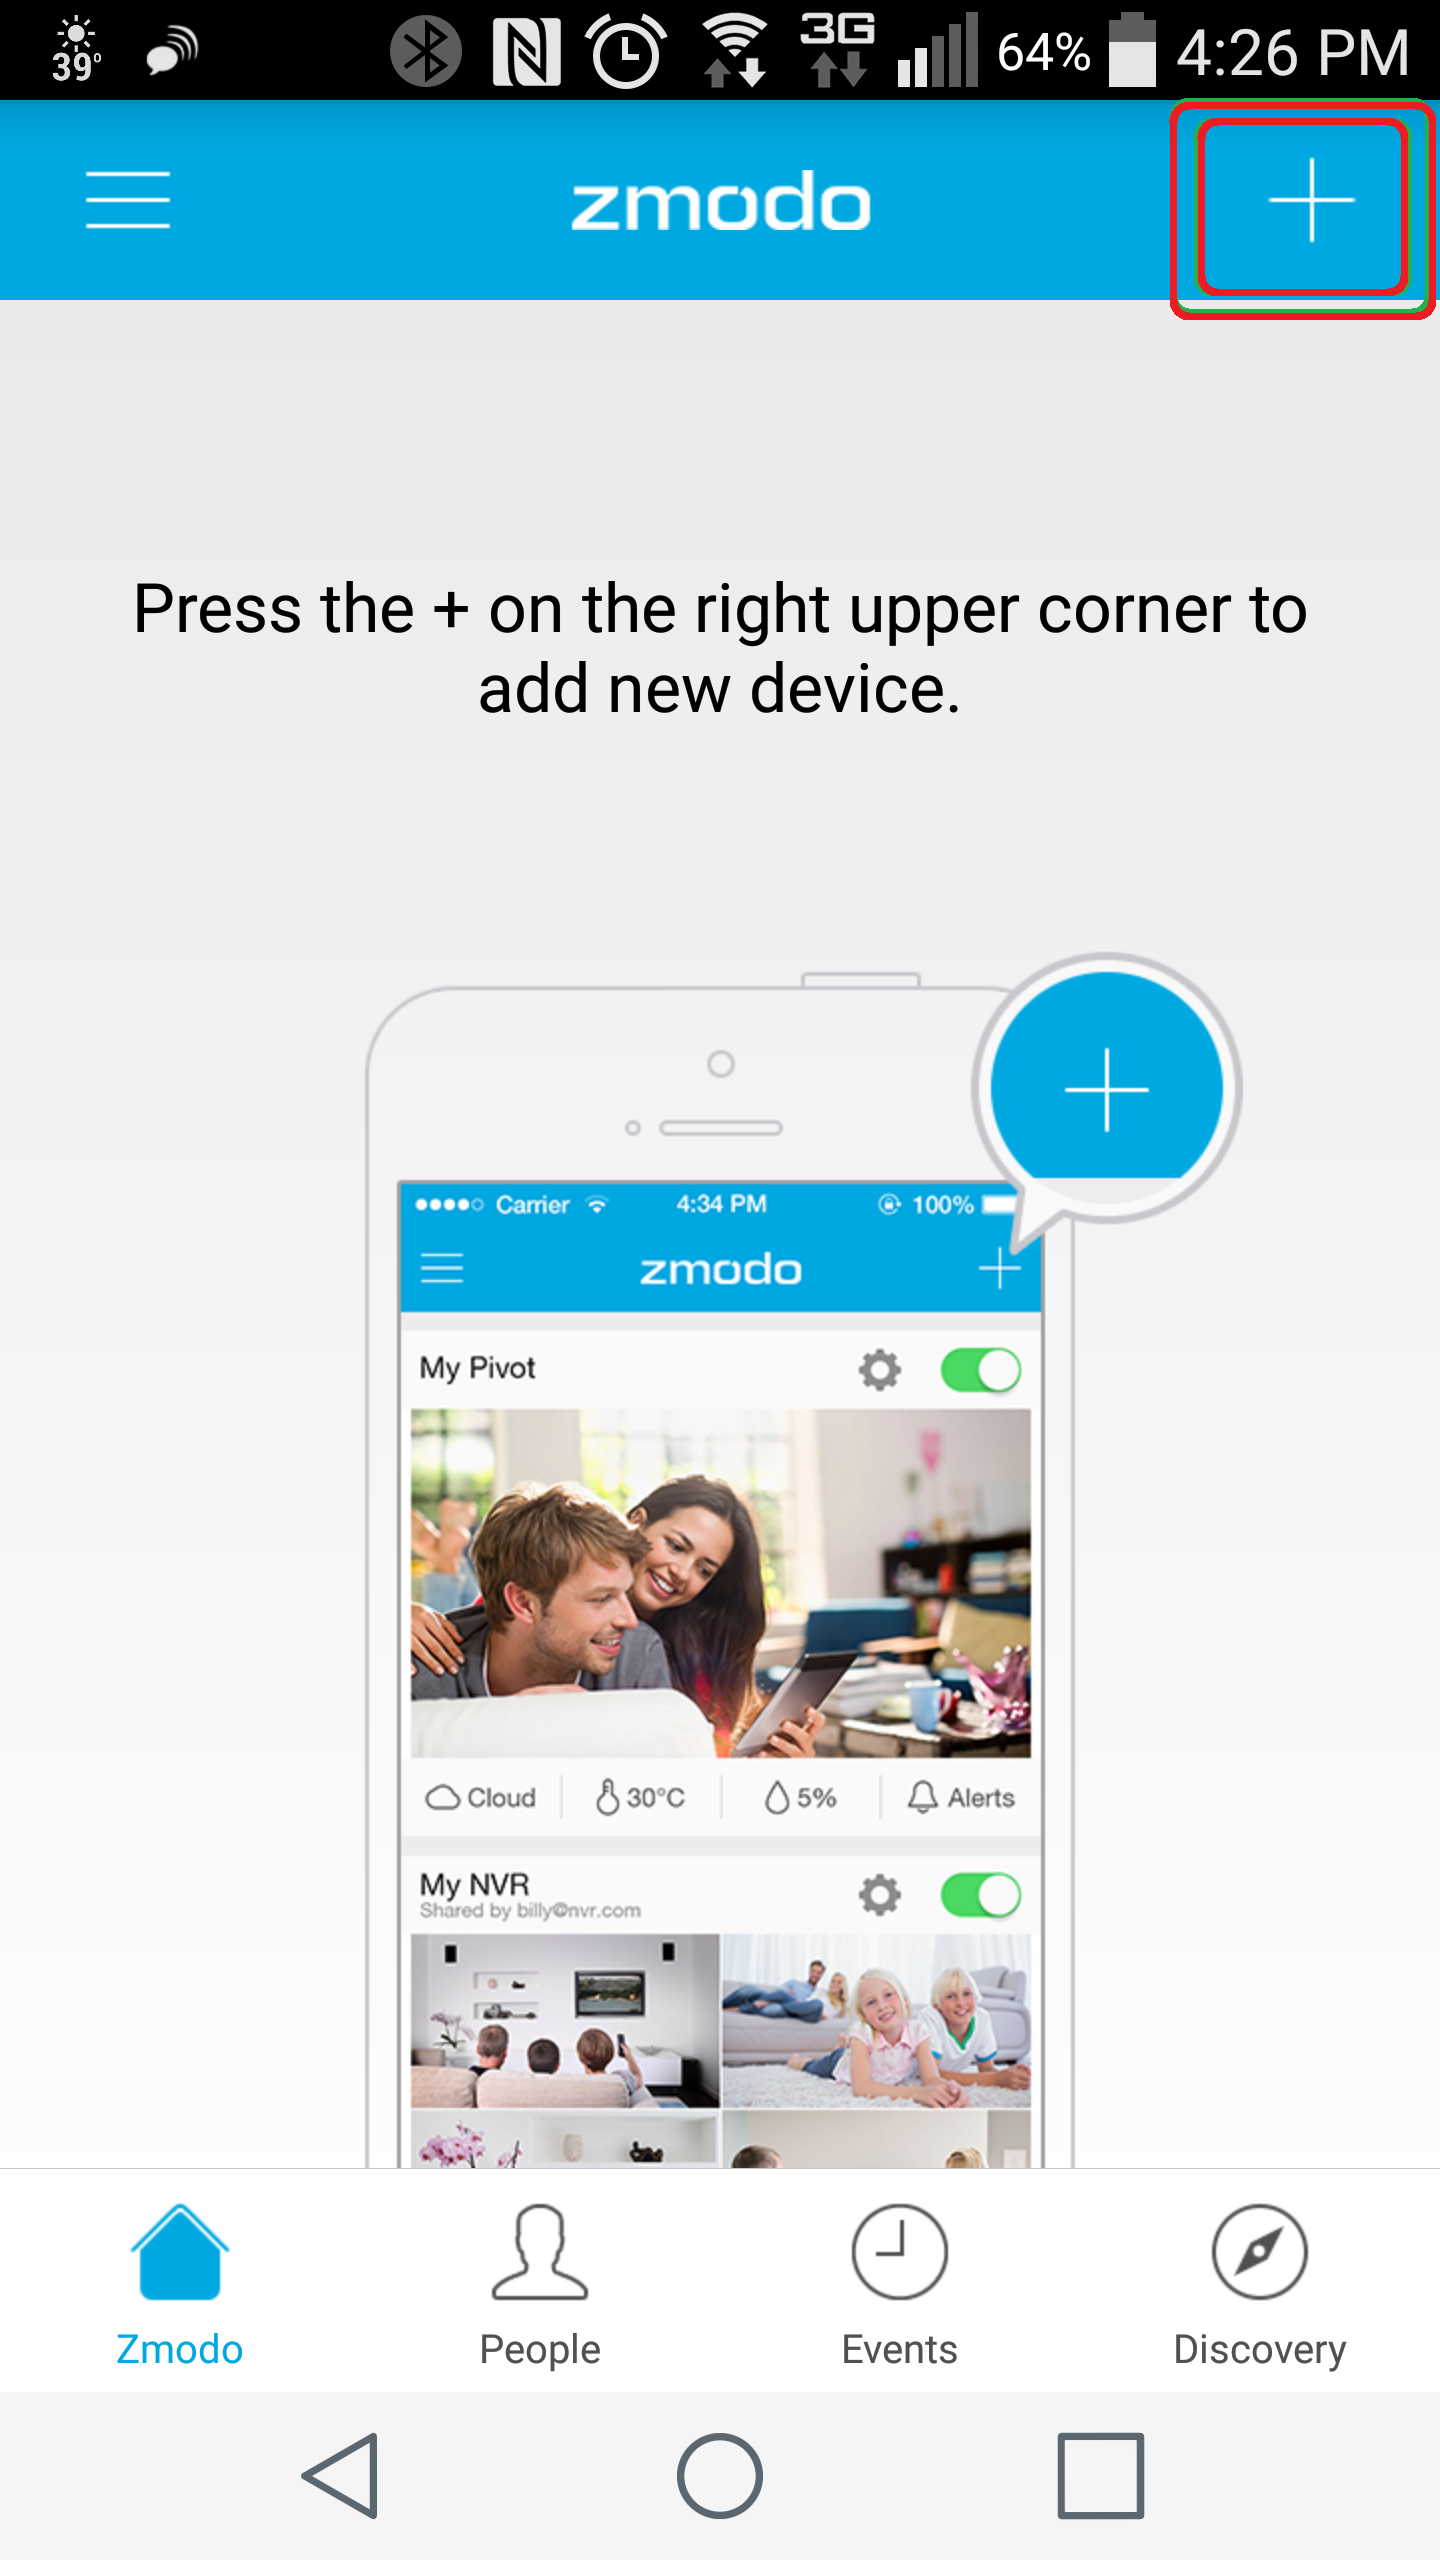
Once signed up and logged in, tap the plus sign and select wireless device to add the Pivot
                     

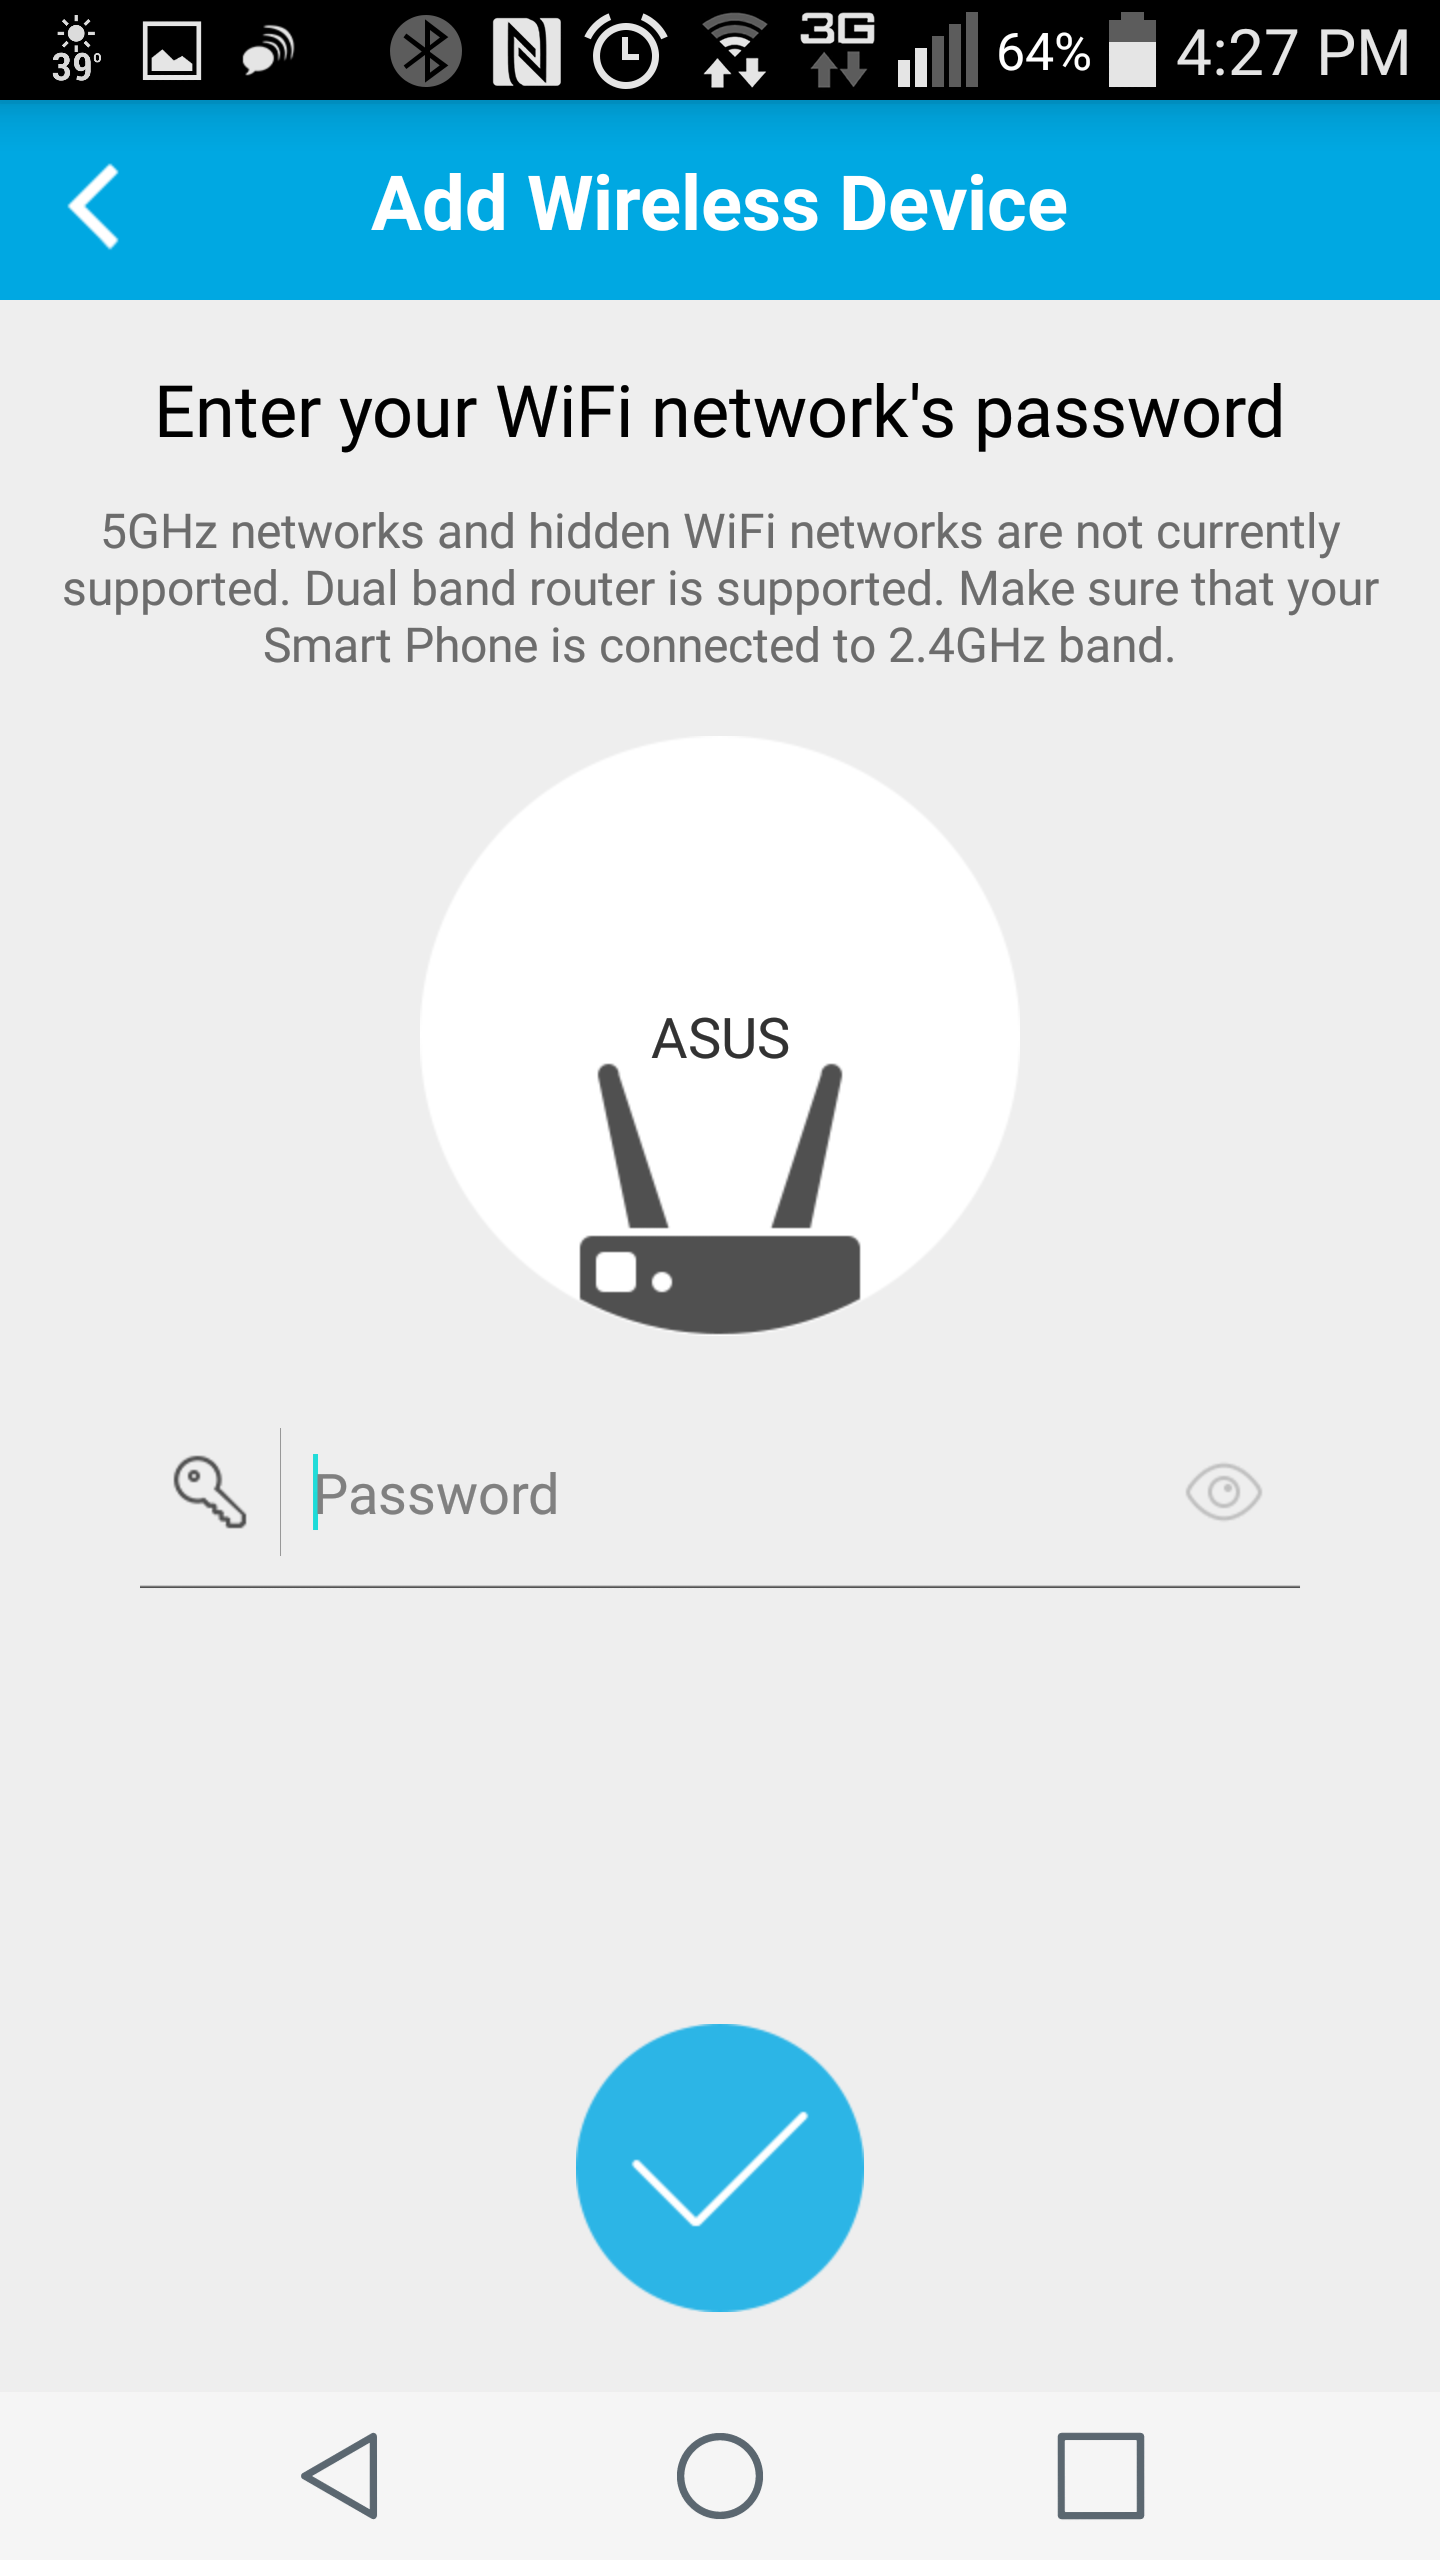
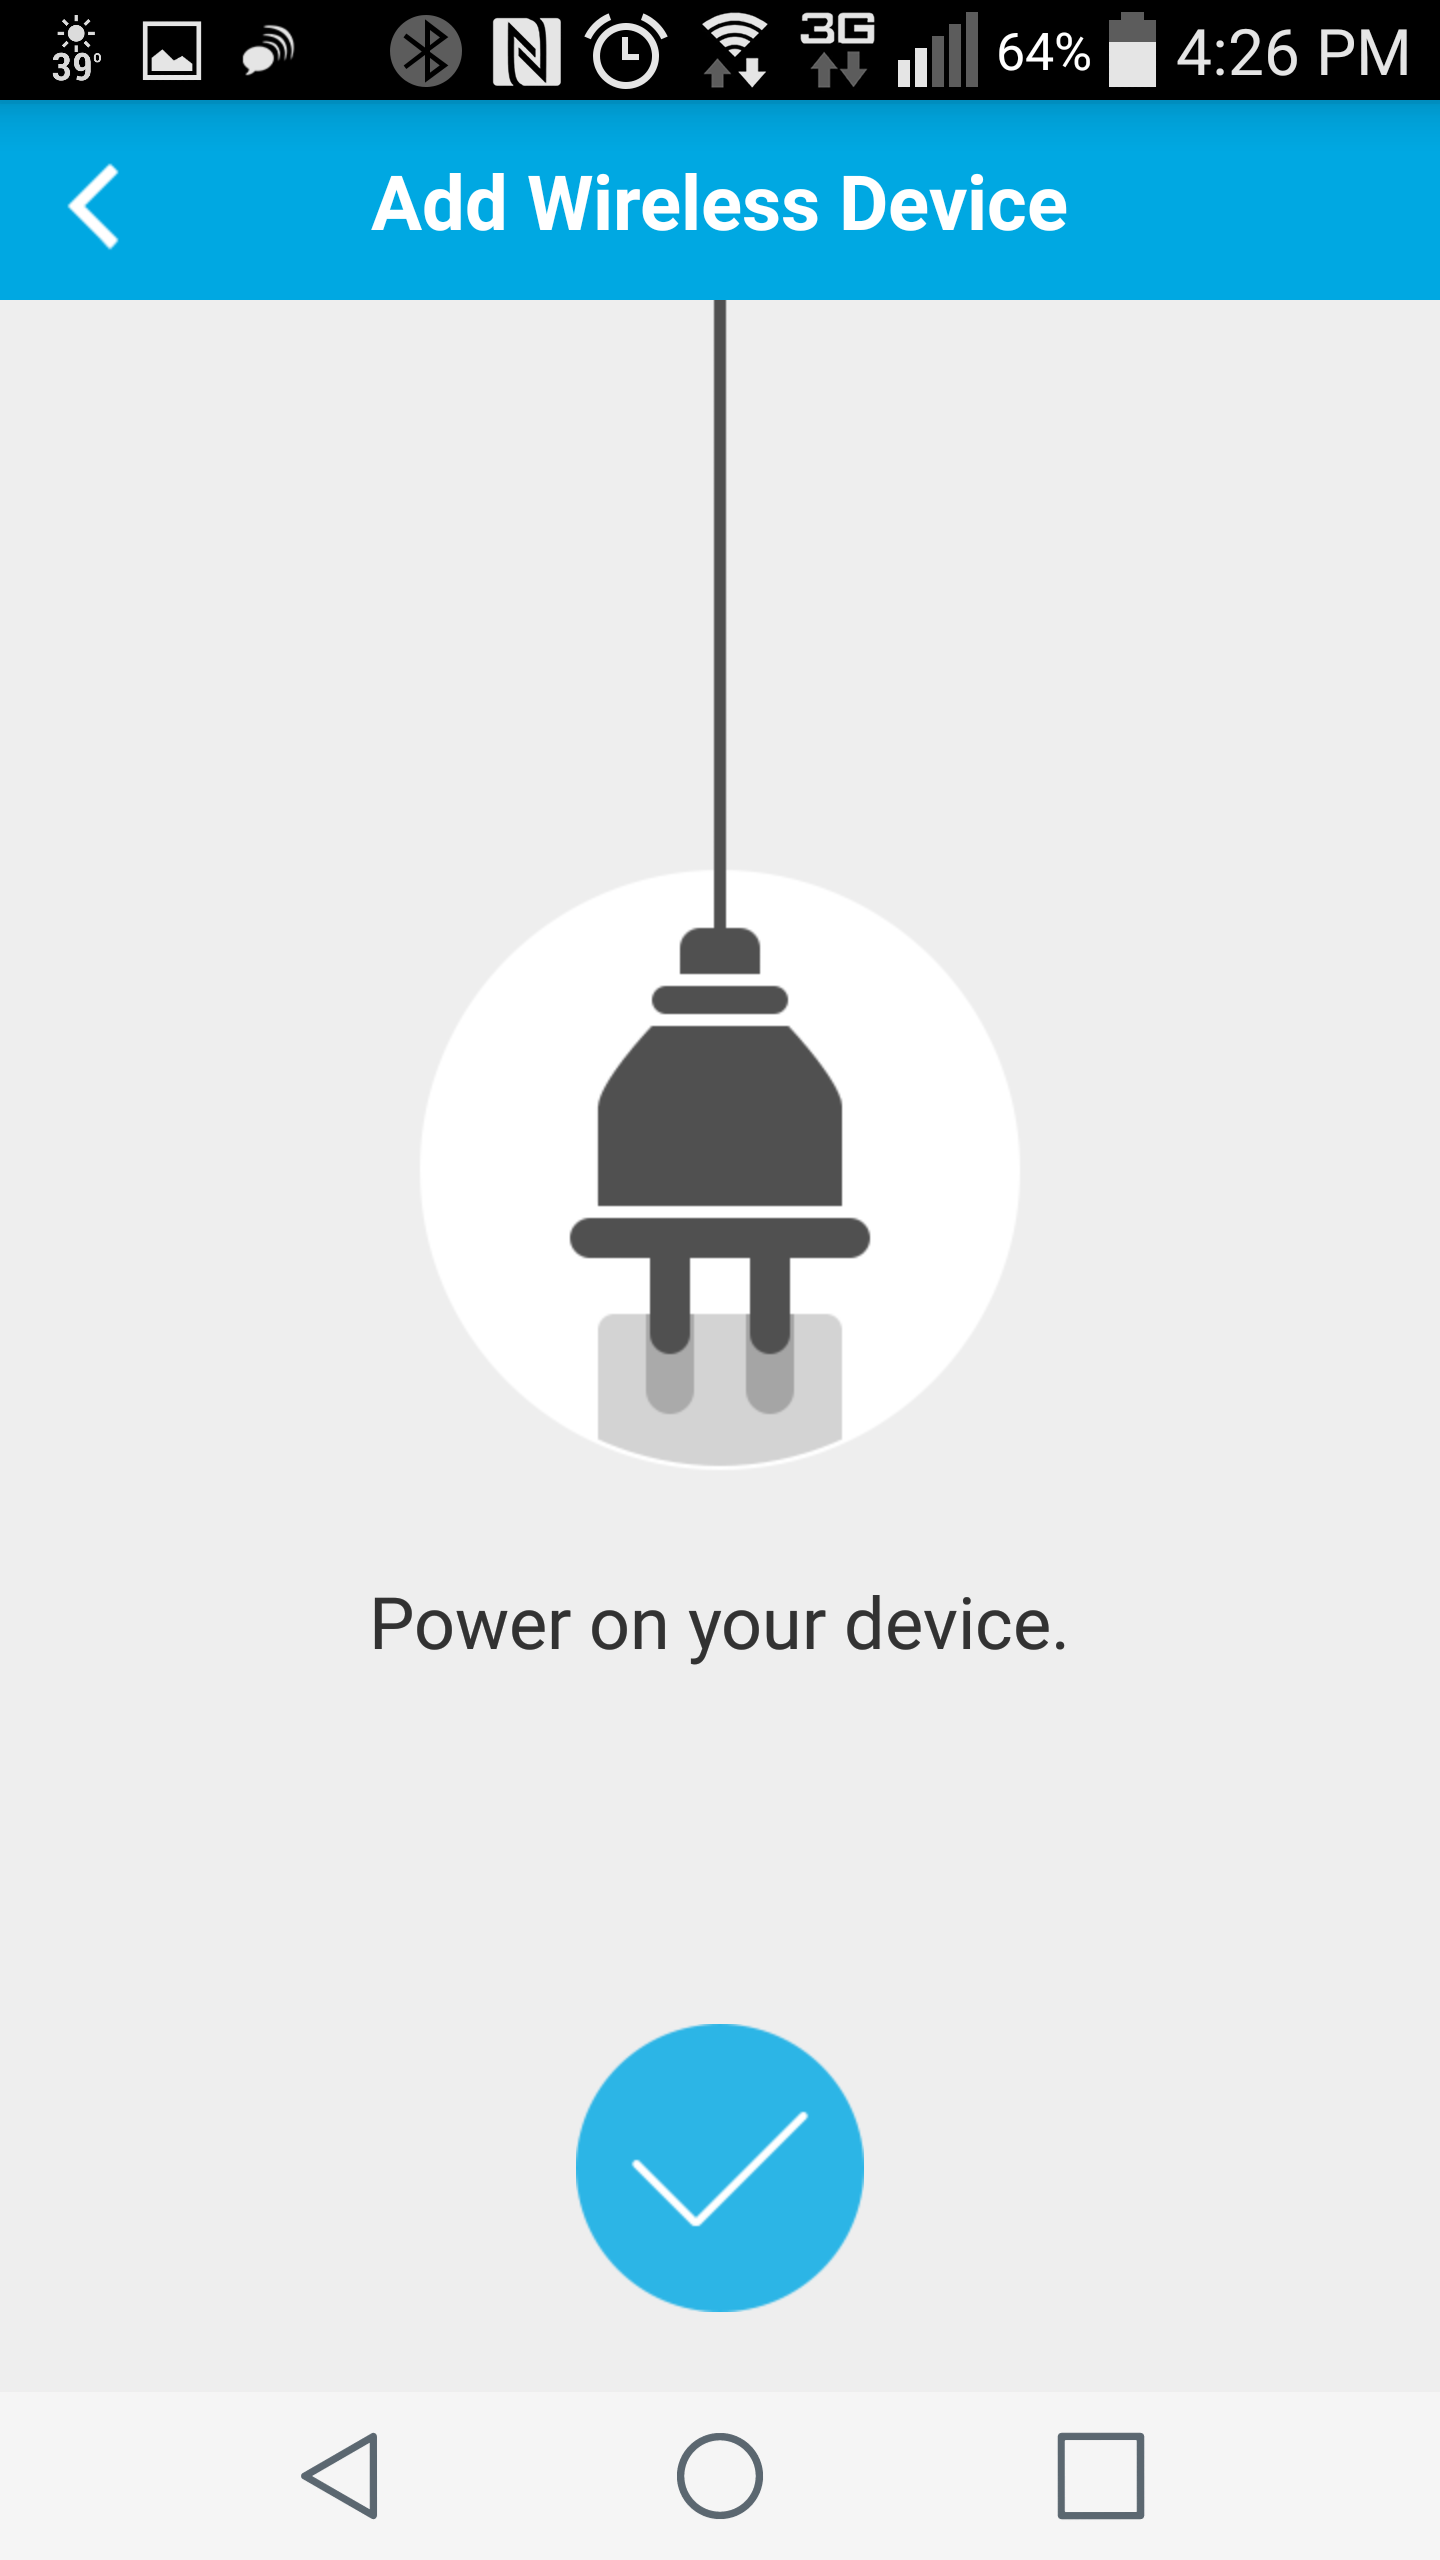
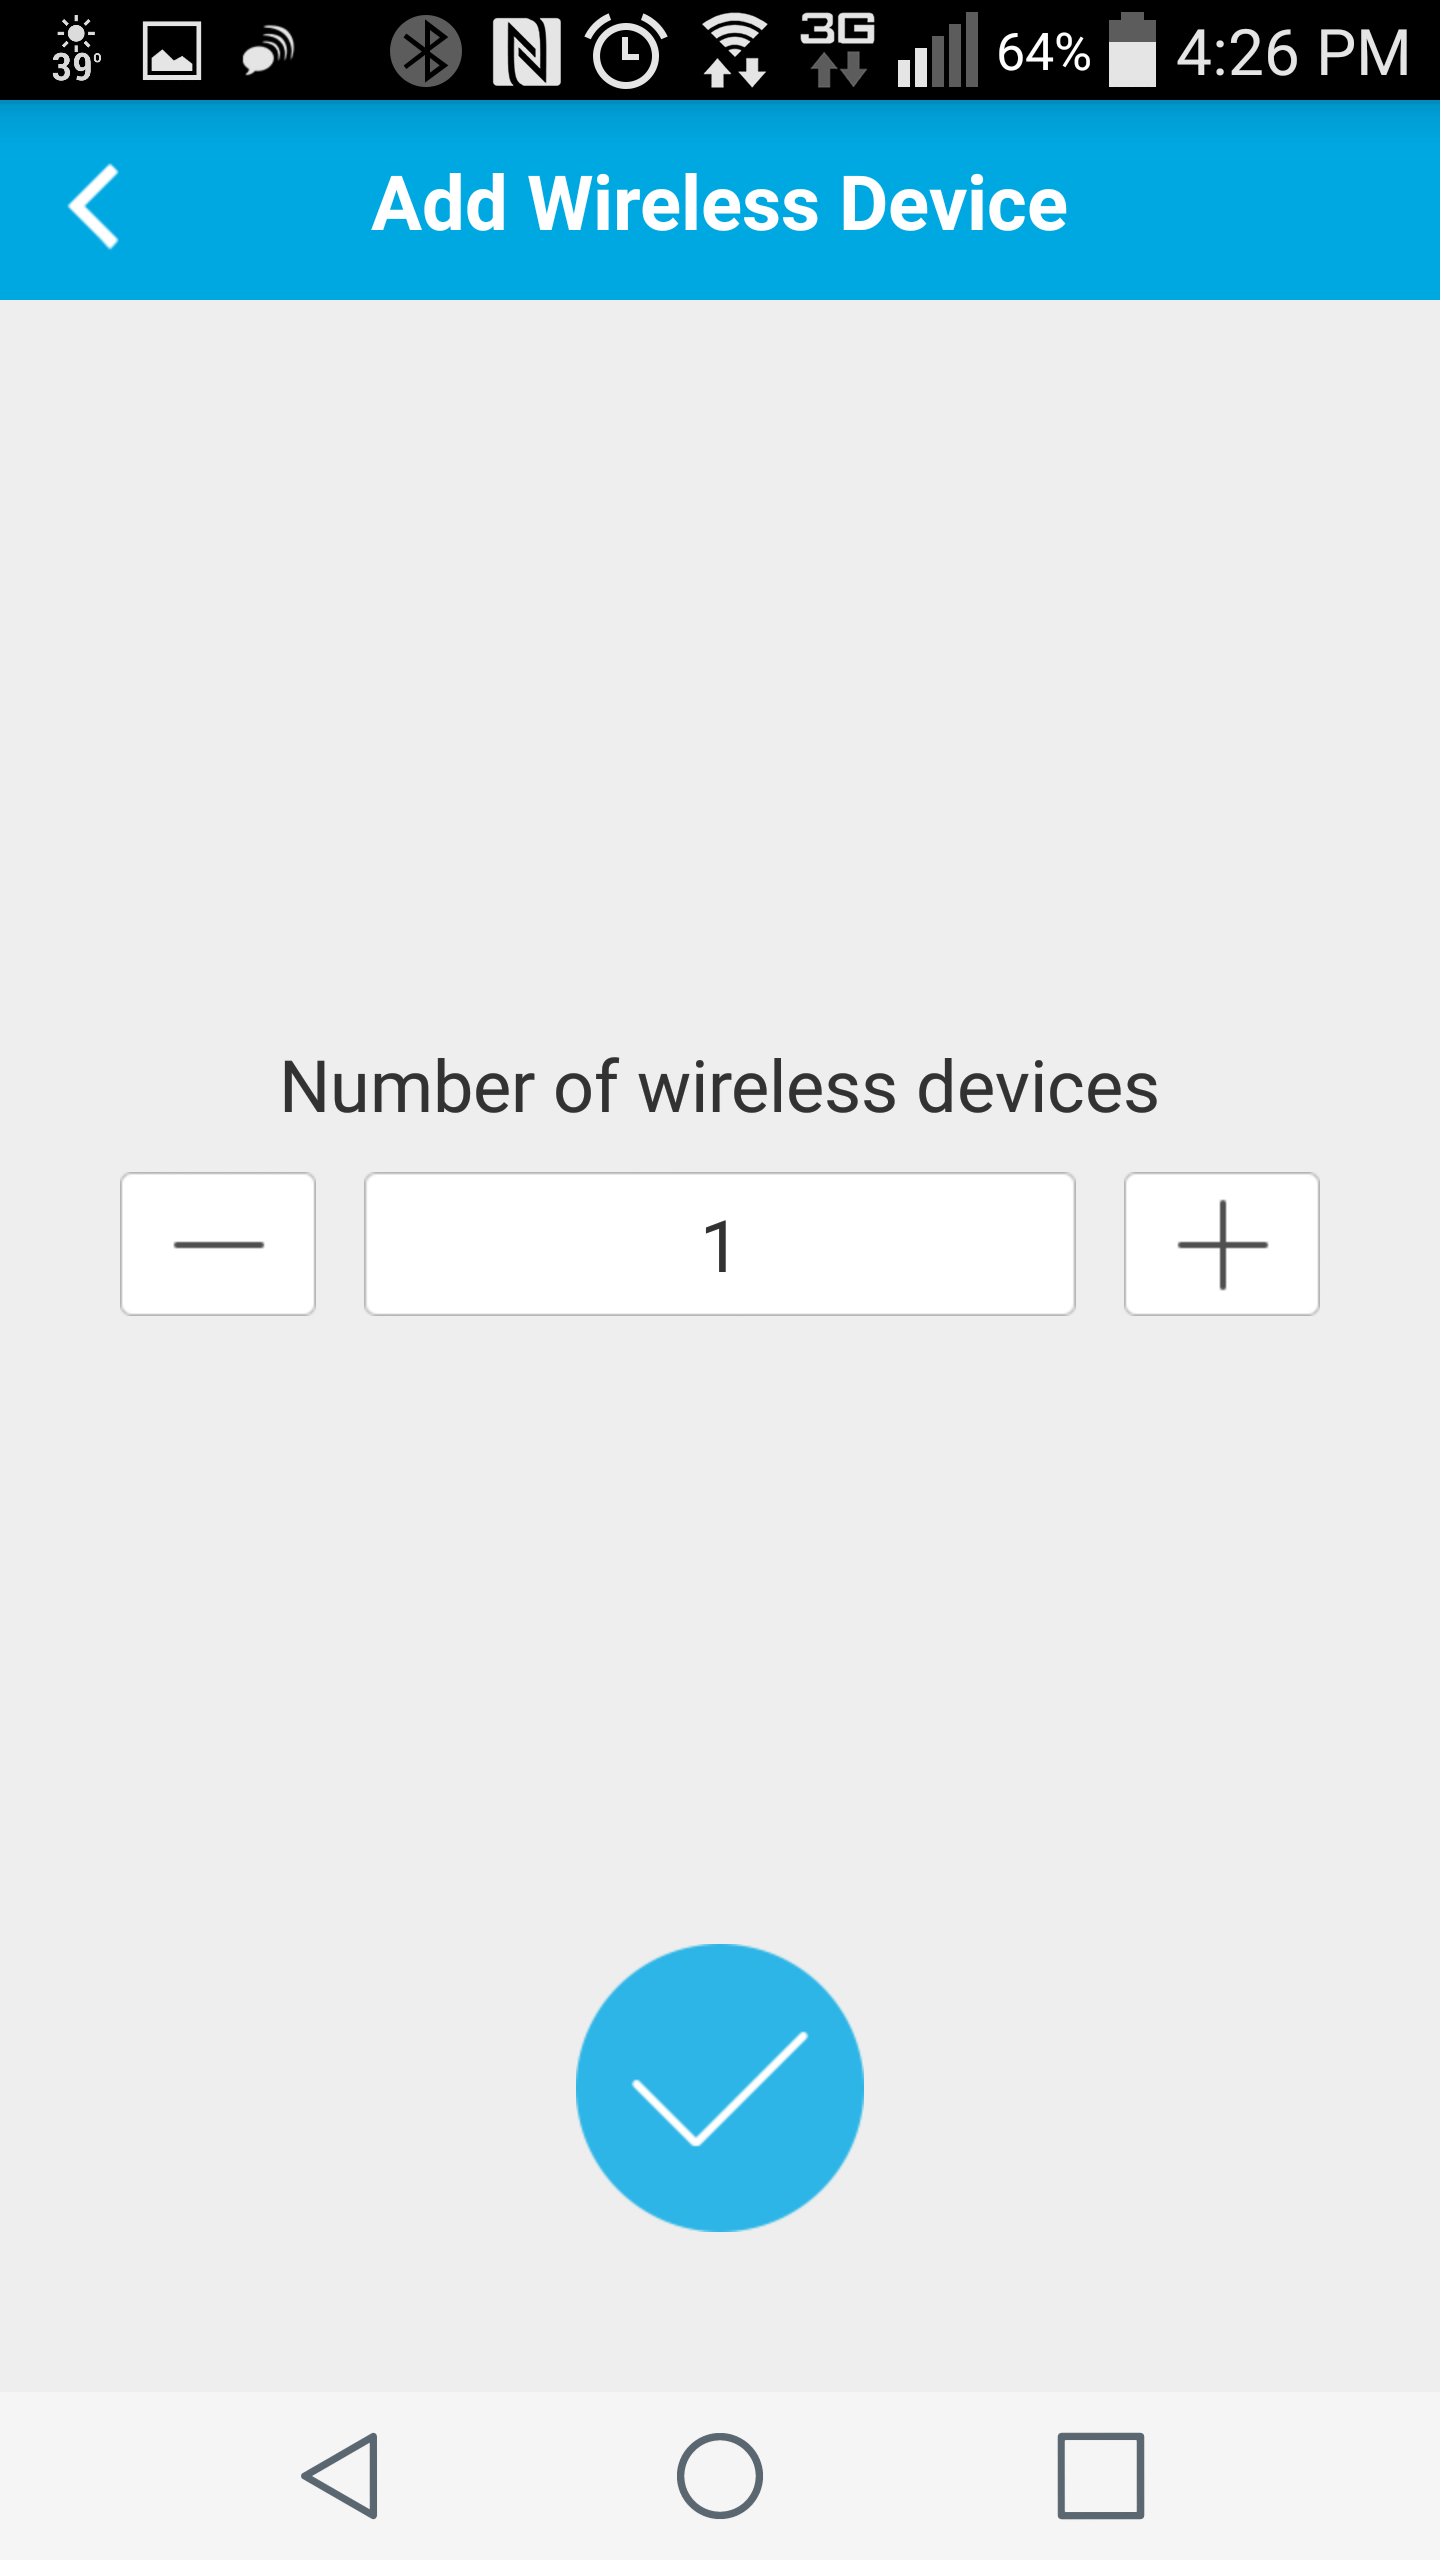
Follow to on screen prompts to verify that the device is plugged in, then select the number of devices that you are connecting, and finally, enter the password for your wireless network.
                 

You should then see a screen indicating that the device is connecting. The light on the top of the Pivot will flash blue while trying to connect, and finally, it will turn a solid blue once it is connected.

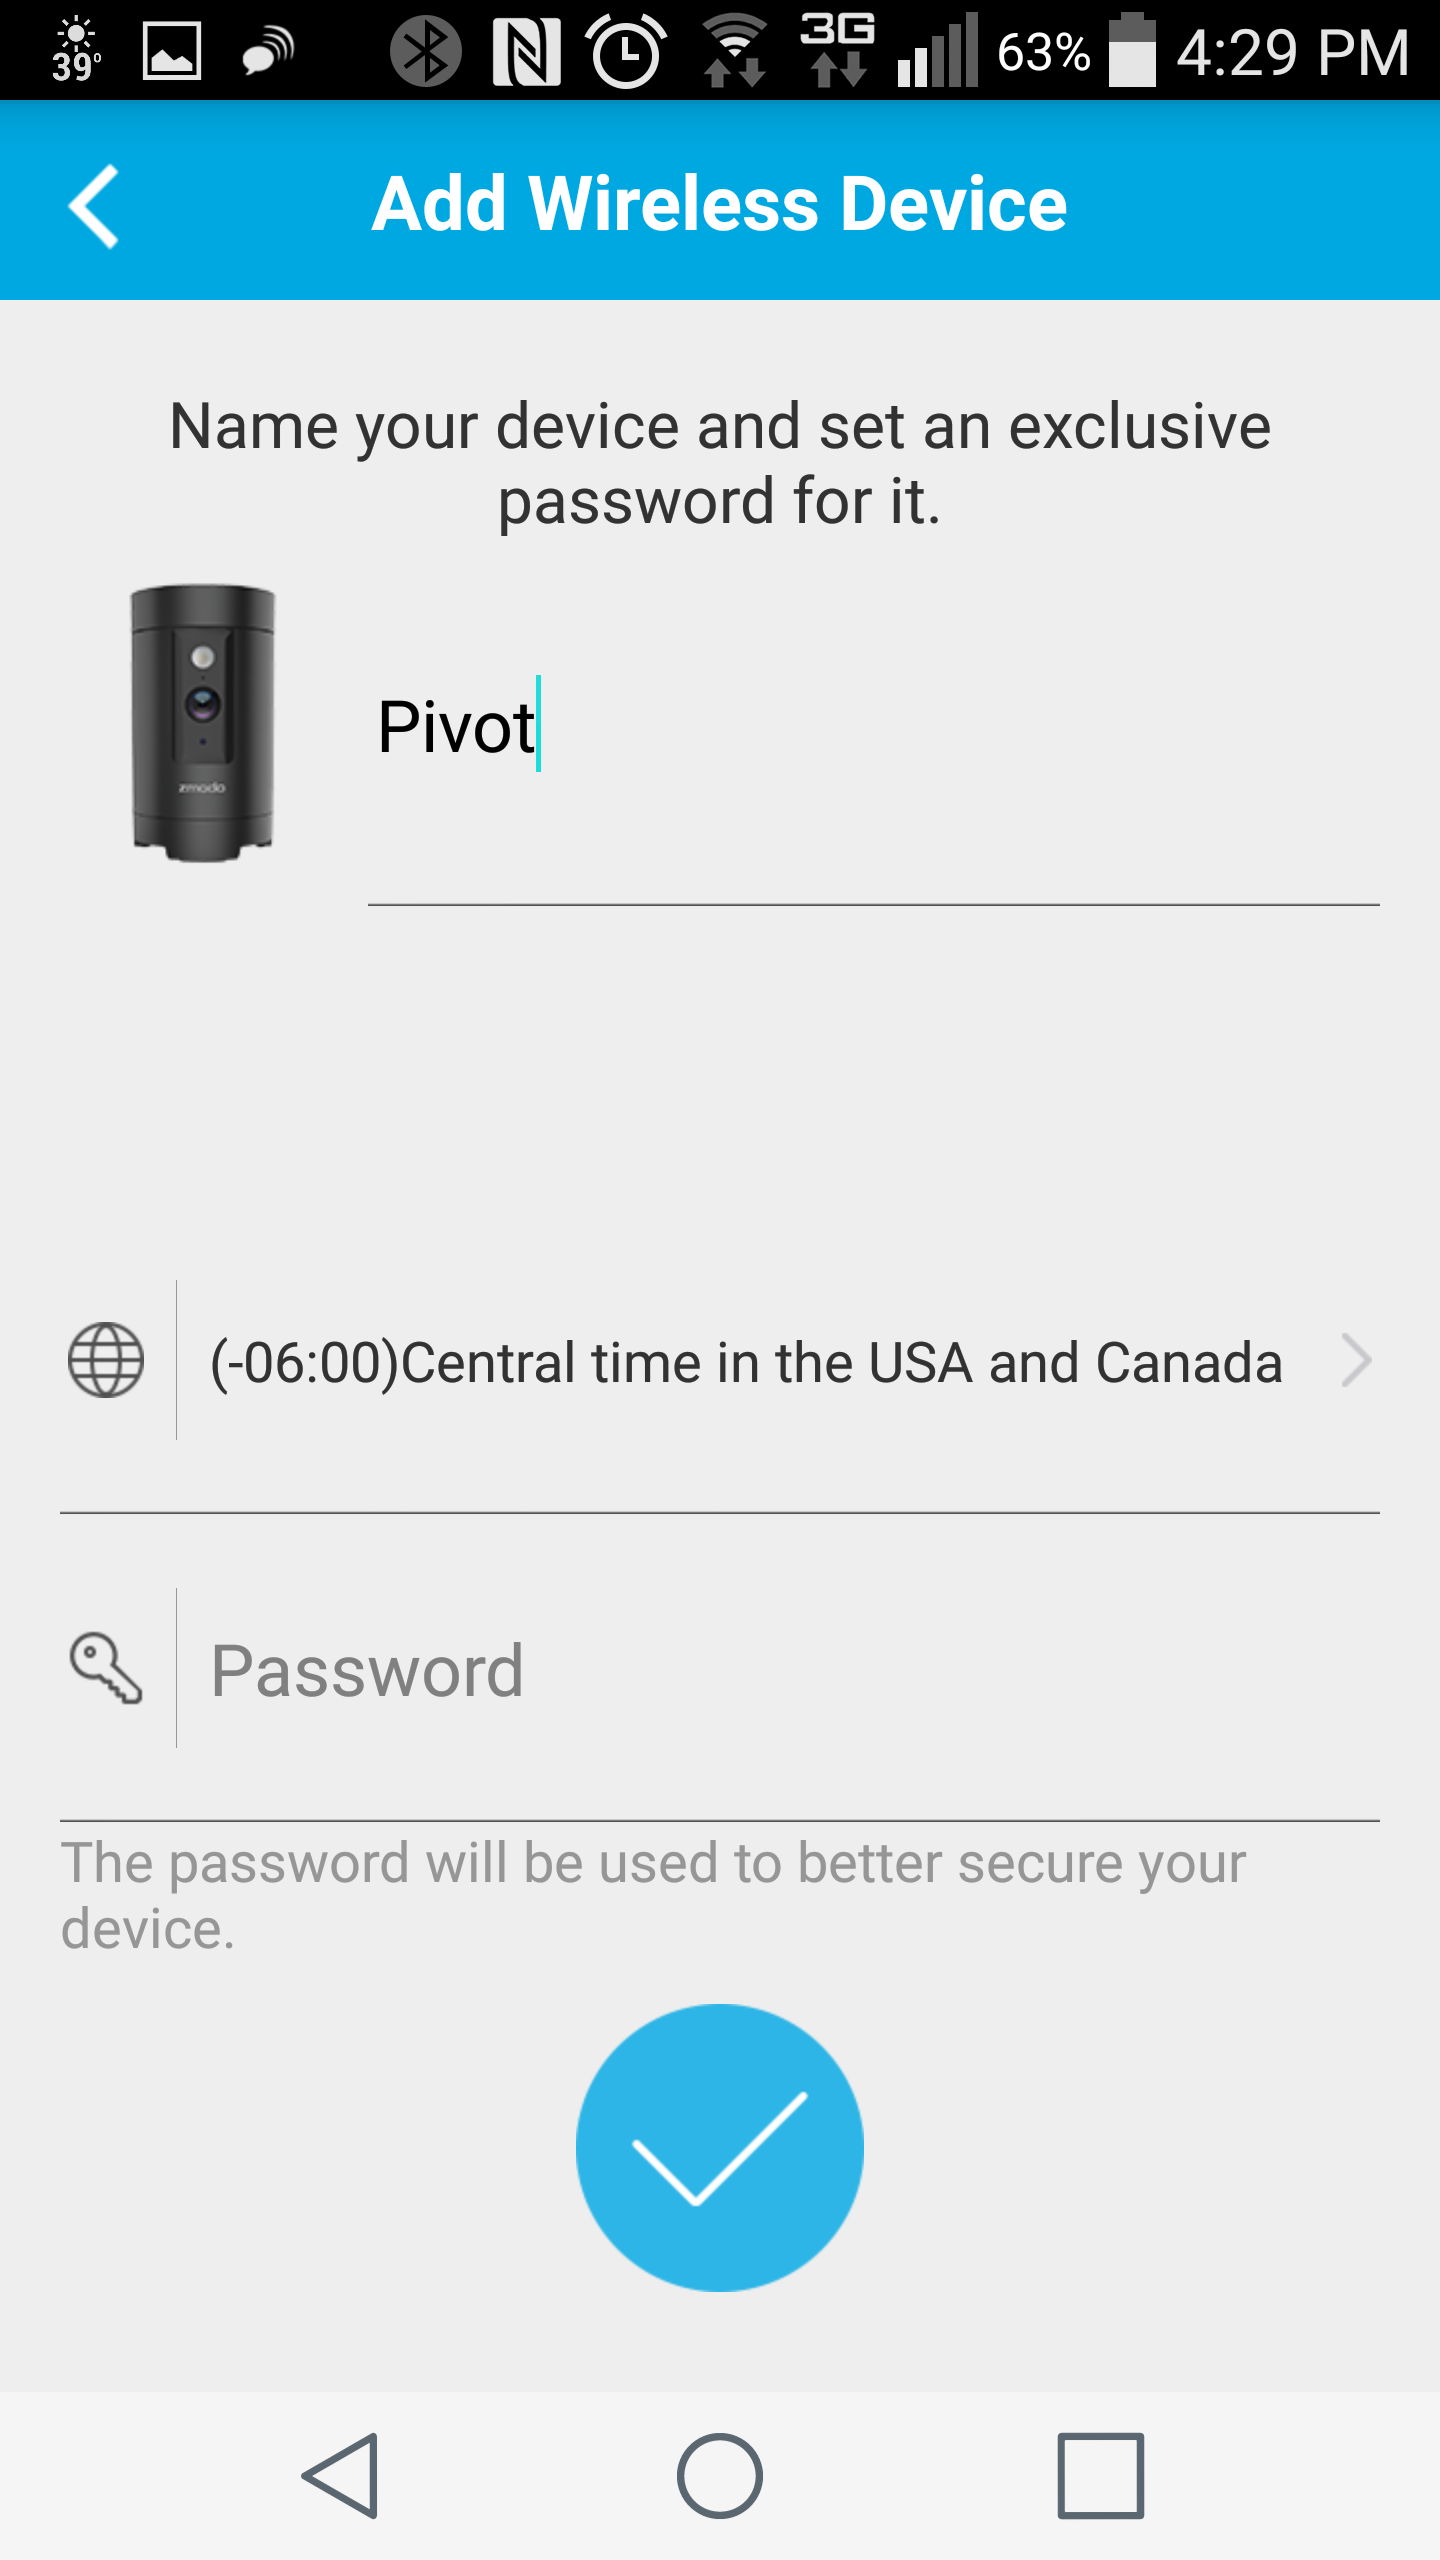
Once connected, you will name the device, specify your time zone, and if desired, set a password for the Pivot.
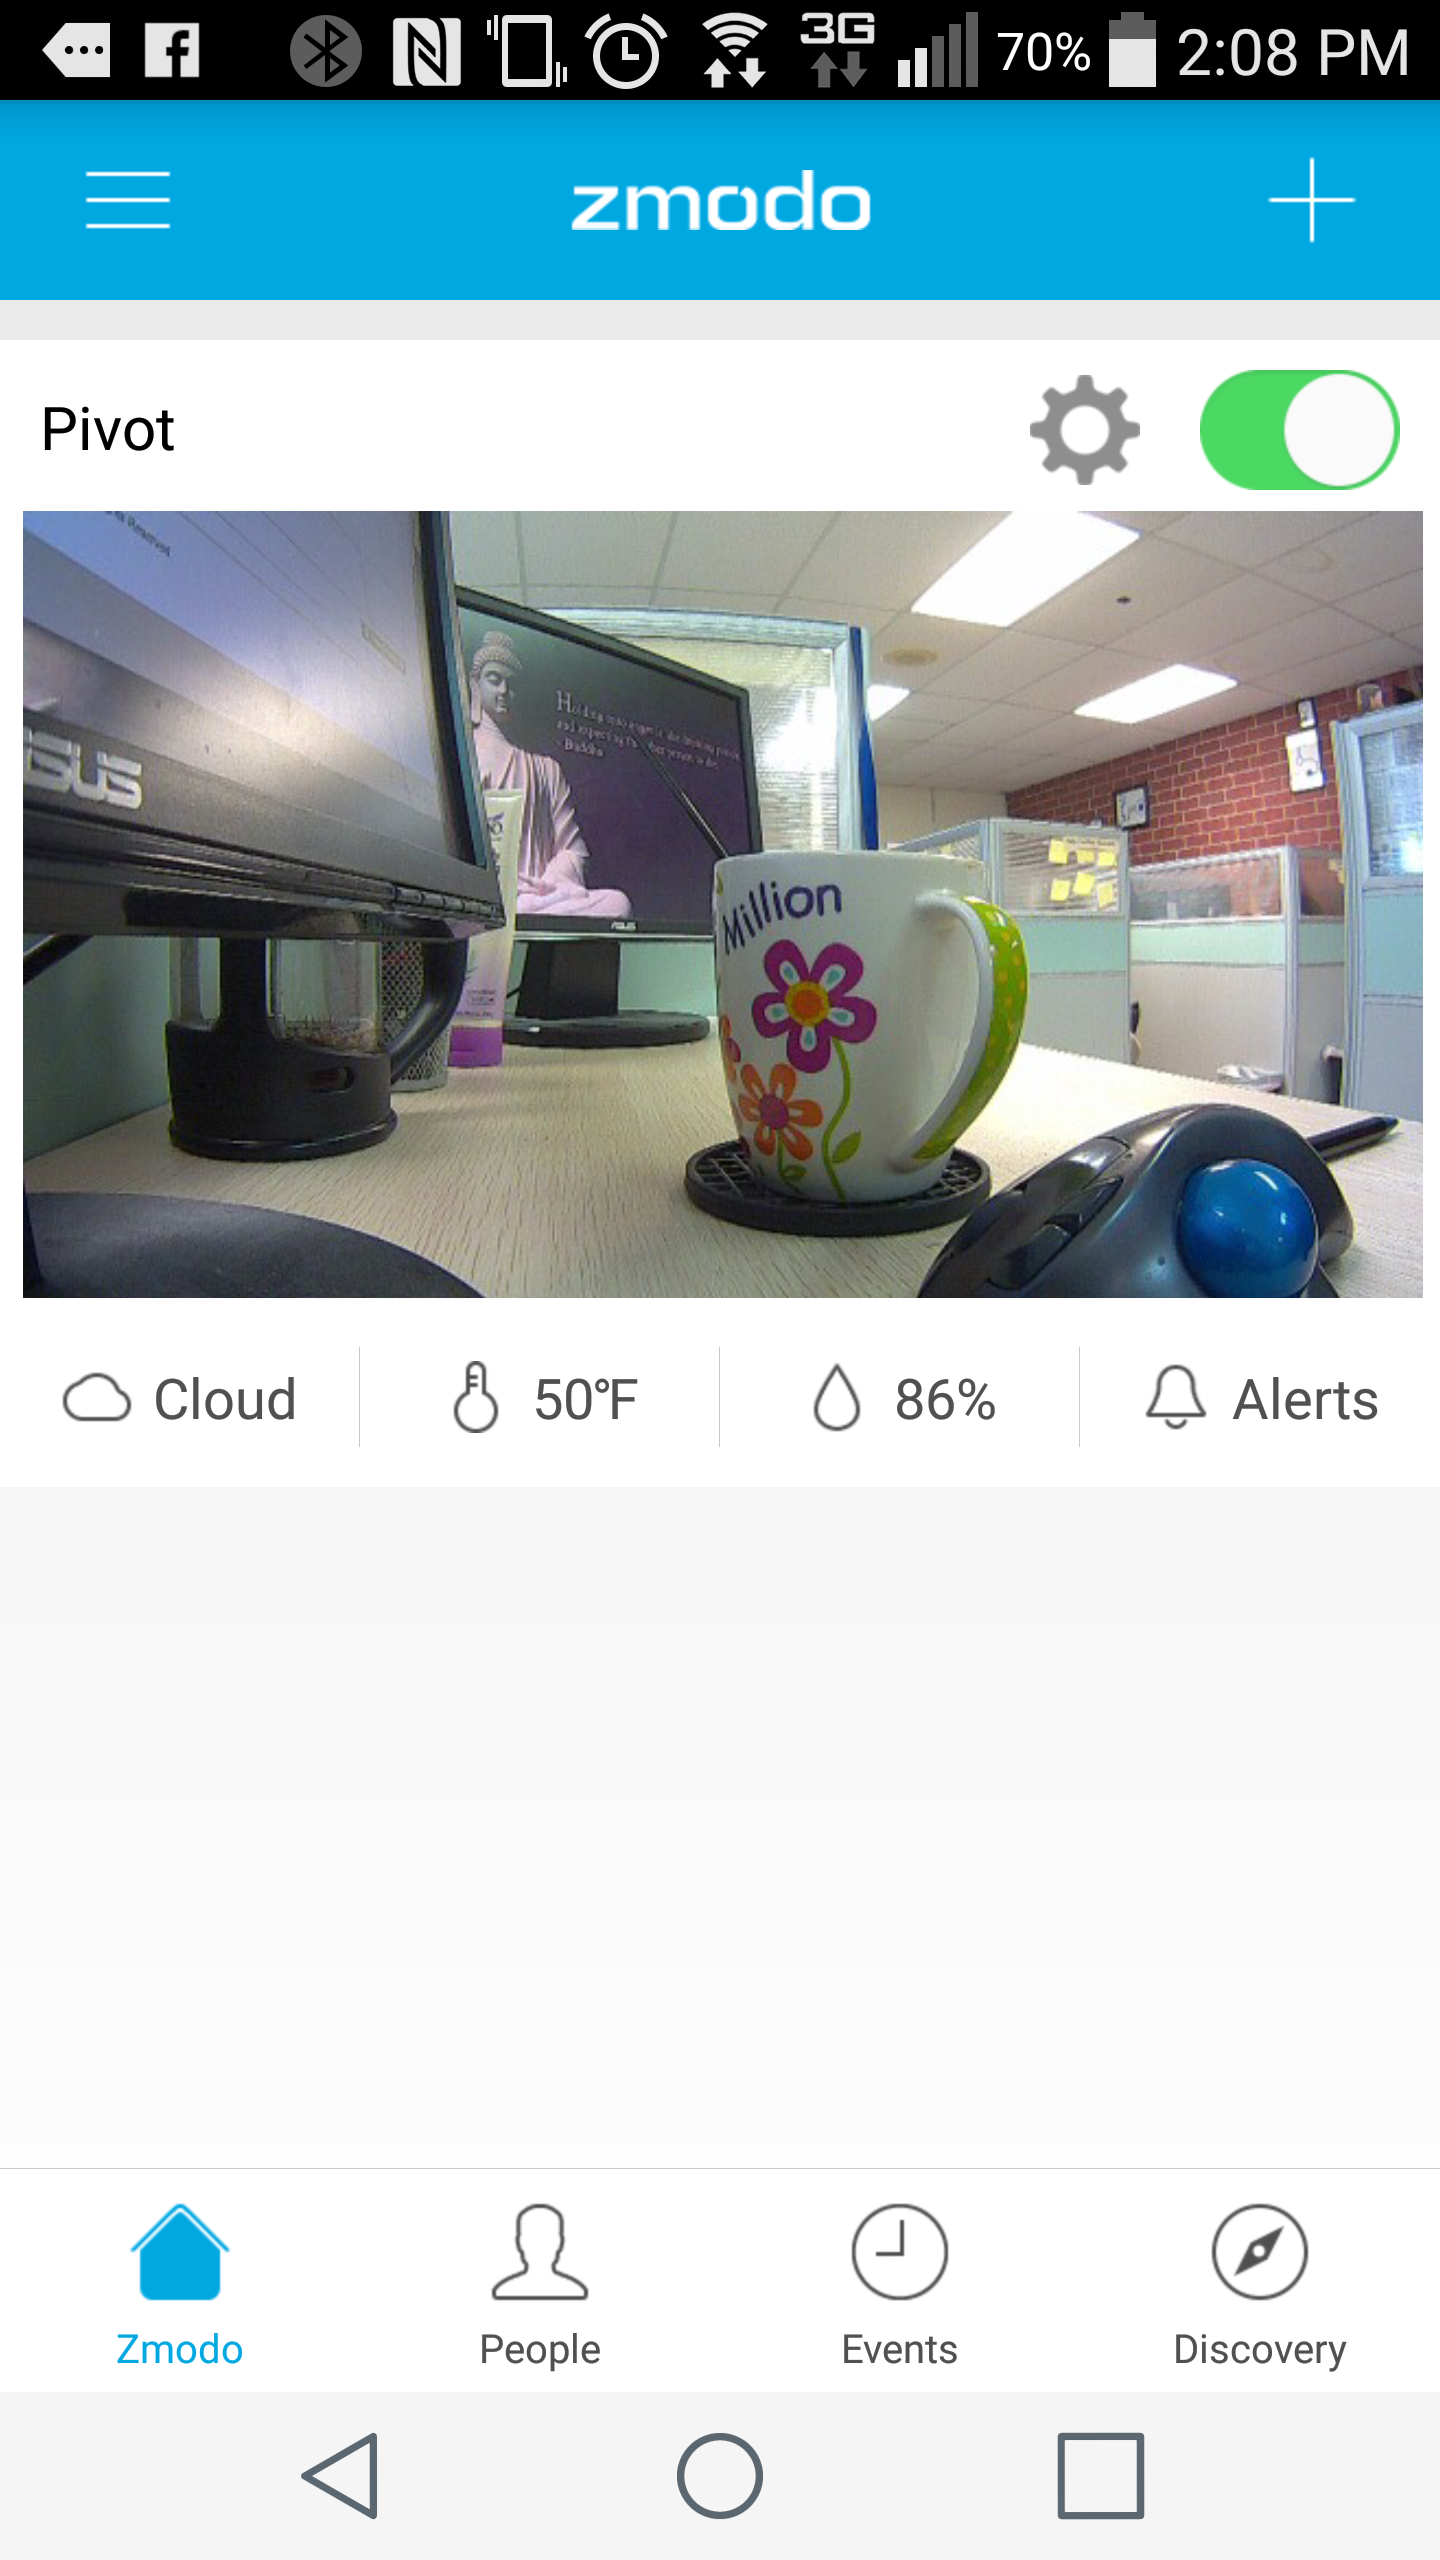
After adding the device, you should see it listed in the device list in your Zmodo app, along with a still camera preview image.

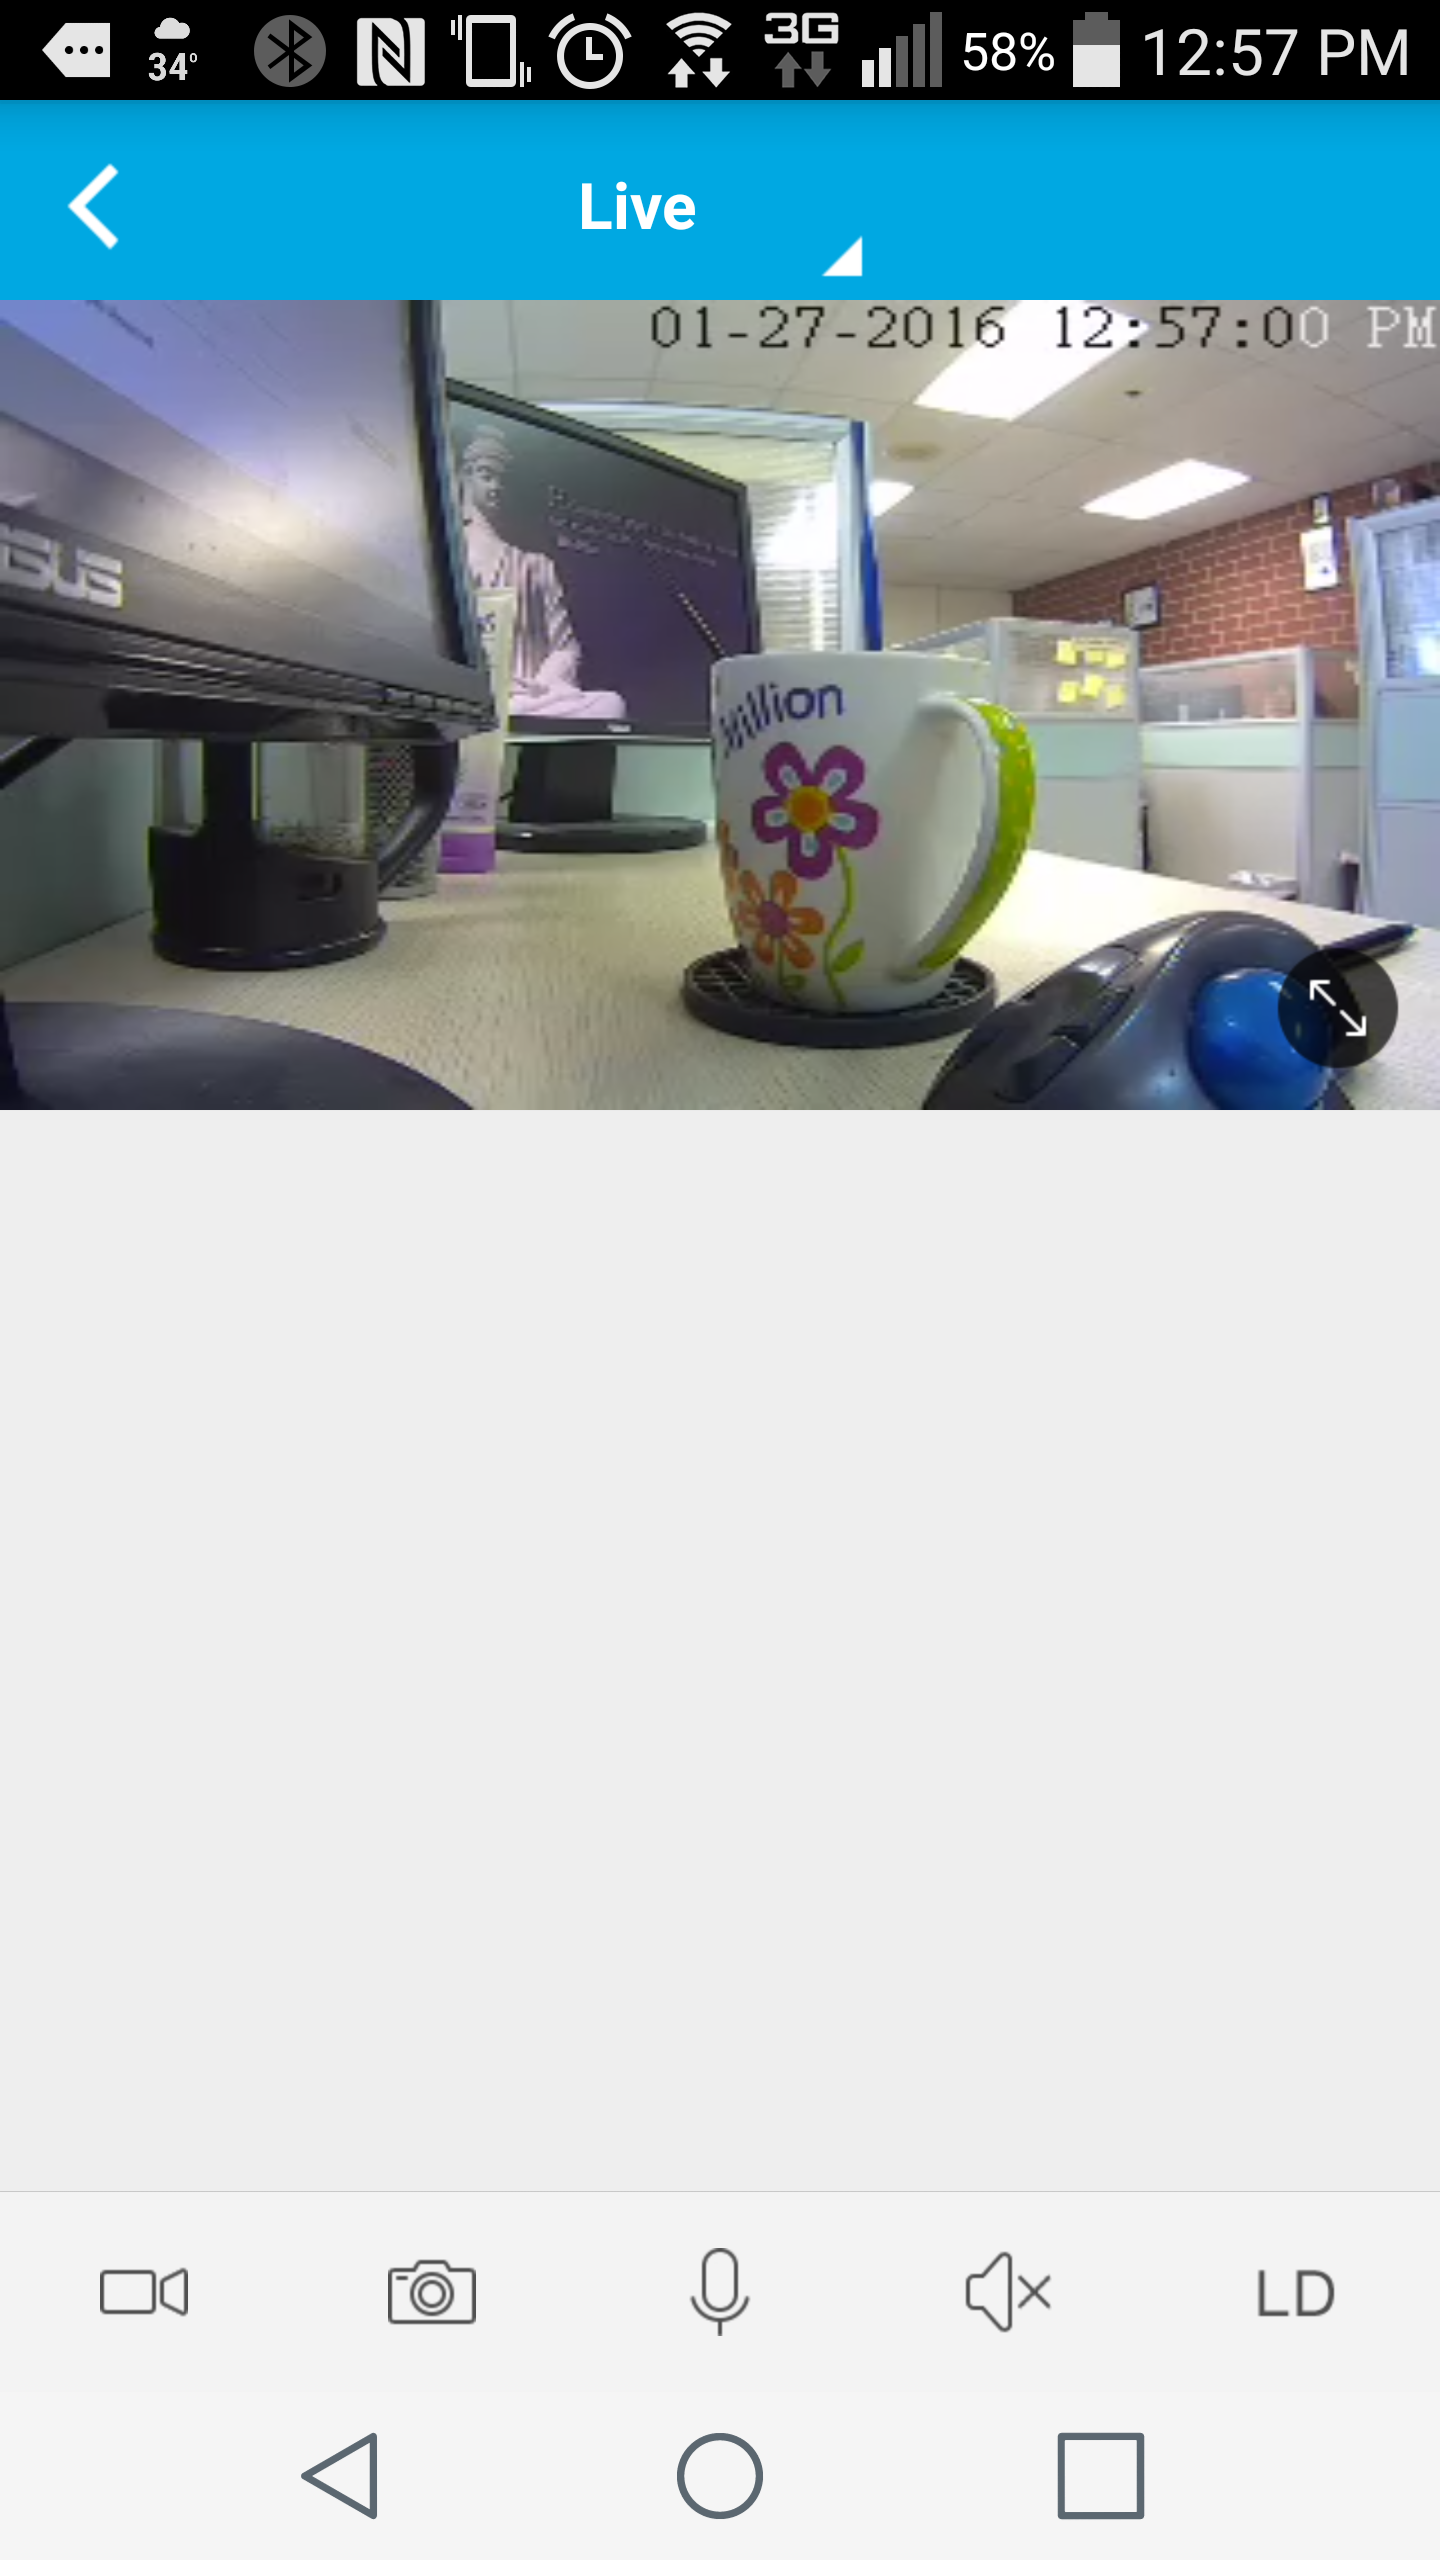
Tapping the camera preview image will take you to the live camera view.


Troubleshooting connection issues with the Pivot

$
0
0

Troubleshooting:

If your pivot will not connect to your network using smartlink, first check to ensure that you are typing in the correct Wifi password for your network.

Wifi signal strength can also be a problem. To check your wifi network settings from an Android smartphone, you can download the free Android app “Wifi Signal Strength”

Open the Wifi Signal Strength app and hold your phone near the location you are installing your Pivot,. You want a signal of -67 dBm or better.

If you are using an iPhone, look at the WiFi indicator arcs in the top of your iPhone screen. You will need for all three arcs to be lit.

 If your Wifi signal is poor, you will need to increase it. You can do this by moving the wireless router closer to the location you are installing the Pivot. By moving the Pivot itself to a location that has better signal, or using a Wifi range extender.

If your signal strength is good, you need to check your wireless settings. On android, open the Wifi signal strength app again and check the number below your Wifi network name. If this number is at or below 14, your phone is correctly connected to a 2.4 Ghz network. If this number is above 14 your phone is connected to a 5Ghz network, and you need to connect your phone to the 2.4Ghz network provided by your router and try smartlink setup again.

If you are on an iphone, you should check your routers documentation to ensure you are connecting to the 5Ghz network.

The ZSight App On My iPhone Will Not Let Me Connect

$
0
0

The latest ZSight update for iPhone and iPad devices created a bug with the connection to the Zmodo server that is preventing users from creating new accounts and sometimes accessing current ZSight accounts using ZSight.

Until the next iOS ZSight app update is approved by Apple, you can get around this issue by downloading the free mobile app called Zmodo.

This Zmodo app is the same as the ZSight app in most ways, you can create a new account and login to a current account.  To access a current ZSight acount from the Zmodo app, simply enter your ZSight login credentials into the Zmodo app and login.  You will be able to see all devices from the Zmodo app that you've already added to your ZSight account using ZSight.

Alternative Mobile Application - Third Party Mobile App for Android and iPhone/iPad

$
0
0
IP Cam Viewer Basic and IP Cam Viewer Lite - A Free 3rd Party App
 
   If you are having trouble viewing your cameras with the mobile app Zsight or the Zmodo app, or if you had to do port forwarding to enable remote viewing of you cameras, we recommend using a third party app called IP Cam Viewer. This app is available for both Android and Apple mobile devices, and is fully compatible with all Zmodo and FunLux equipment.
 
  There are a few different versions of IP Cam Viewer that will show up when you do a search in Google Play or iTunes Store. There are two free versions that we recommend: "IP Cam Viewer Basic" and "IP Cam Viewer Lite". Both apps work equally well and there are no known differences between the two apps.
 
  There is also a paid version of IP Cam Viewer called "IP Cam Viewer Pro". The only difference between the paid and the free apps is that the free apps will not allow you to add more than 6 cameras to the app. Other than this camera limitation the paid and the free apps are identical.
 
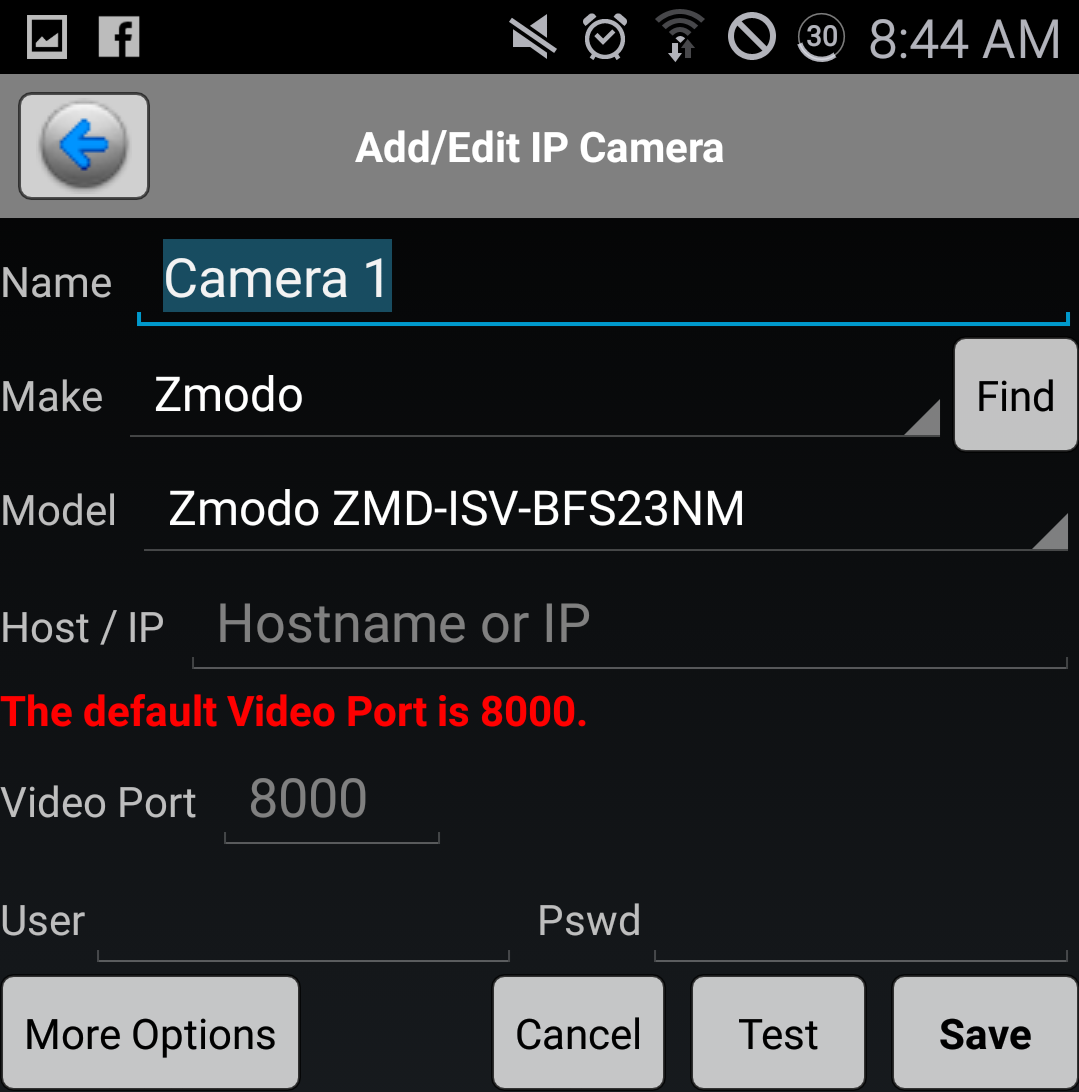
  Once you have installed the app, here is what you need to do to be able to see your cameras with the app, If you are using any Zmodo or Funlux IP cameras, you will enter the following settings:
1.  "Name" - you can enter whatever you like. This will appear on the device list when you want to open that device.
2. "Make" - select Zmodo.
3. "Model" - Select the option that matches the SKU on the white sticker on your device. If you are setting up a DVR/NVR, use the SKU from the bottom of the system. If you are setting up a single camera, use the SKU from the camera. ***If your specific SKU is not listed, you will need to select ZMD-DX-SAN8 for an analog DVR system, ZMD-ISV-BFS23NM for an IP camera, and ZP-NE14-S for a sPOE system*** After selecting the model, tap "back".
4. "IP/Host" - enter your IP address or hostname here
5. "Video port" - This should be either 8000 or 9000 and should prefill automatically based on the model number.
6. "User" - enter the user name for your device. *Note this is case sensitive and should match your device.
7. "Pass" - enter your device's password here. Most devices use a default of 111111.
8. "Ch. #" - select a channel number for your device. For an IP camera, you will enter channel 1, for a DVR/NVR you will enter 1, then 2 for the next device as each camera is programmed seperately.
 
Once you have all the information entered, you can test the connection. *Be sure if you are using your WAN IP address that your WiFi is turned off and if you are using a LAN IP address that your Wifi is turned on.
.
Please note that these instructions assume you have already completed port forwarding or have otherwise already enabled your camera(s) to be viewed remotely. These instructions only explain how to navigate the IP Cam Viewer app. For a comprehensive step-by-step guide on how to do port forwarding, visit our interactive networking guide here: http://kb.zmodo.com/NetworkTutorial/landingpage.html 


For additional resources with port forwarding, please contact your router manufacturer or internet service provider. 
 

Routers, IP address & support contact #

Apple      10.0.1.1          800-692-7753

Asus        192.168.1.1     877-339-2787

Belkin     192.168.2.1     800-223-5546

Buffalo    192.168.11.1   866-752-6210

D-Link     192.168.0.1    888-909-4786

Linksys     192.168.0.1    800-326-7114

Motorola   192.168.10.1   866-289-6686

Netgear     192.168.0.1    888-638-4327

Trendnet   192.168.0.1    866-845-3673

TP-Link    192.168.1.1    866-225-8139


Internet Service Providers (ISP) & support contact #

Comcast             800-934-6489

AT&T               800-288-2020

Verizon              800-837-4966

WOW                866-496-9669

MediaCom          844-274-6753

Time Warner       888-715-3291

Optimum          CN:203-870-2583 NJ:973-230-6046 LI:631-393-0636

CenturyLink        866-642-0444

Charter                888-438-2427

Cox                     877-832-7658

Frontier                877-600-1511

Wind Stream         866-445-5880

Troubleshooting Smartlink

$
0
0

Smartlink is a technology similar (but not the same thing as) Bluetooth technology.  It works by using your Smartphone to broad your router's wireless password to any nearby Zmodo wireless IP cameras after you manually type your WiFi password into the mobile app.

If Smartlink connection was unsuccessful, you'll want to try the following steps:

Sometimes, Smartlink connection was successful, however the connection process took so long; the mobile app does not know that Smartlink connection was successful.  We call this issue the "Timeout Error."  To troubleshoot this, choose the option in your mobile app to add a device by "Search LAN."  This will search your router for any devices that are already conneted to your network.  If you experienced the Timeout Error, you will be able to add your camera by choosing the "Search LAN" option on your mobile app.


If the above recommendation didn't solve the issue, there are a number of settings within your router that can affect the cameras' ability to connect to your wireless network. 

Below are some settings that you will want to verify in order to ensure a smooth Smartlink setup 

- Your network SSID or network name can NOT be hidden.

- Disable WMM within the router settings.

- You cannot use a guest network.

- If your router is a dual band router, meaning it supports both 5.0Ghz and 2.4Ghz networks, be sure the SSID (network name) is different for each.

- You will need your mobile device to be connected to the 2.4Ghz during setup.

- The WiFi password MUST be WPA or WPA2. WEP is not secure and will not be recognized.

- The cameras are not compatible with the TKIP encryption type.

- Passwords and SSID names must be a minimum of 6 characters, WiFi networks with no password (open network) are not considered secure. Some Zmodo cameras will no longer accept this setup. 

- This camera is only compatible with WiFi b/g, but not WiFi n or ac. If your router supports AC, you will need to disable that during the setup. In your router, you may need to take it out of mixed mode, or put it into legacy mode. (You can re-enable AC once the setup is complete).

- Must be connected to router or modem. Cannot guarantee success with extenders, boosters, hot spots, etc.


Zink Troubleshooting Guide.

$
0
0

Troubleshooting Zink


Light Keeps Blinking Green throughout the Zink process.

Below are some settings that you will want to verify in order to ensure a smooth Zink setup 

- We recommend that the device you are setting up be within 10ft of the router during the Zink process in order to ensure success.

- An SSID is your WiFi network name. When entering SSID during the Zink setup, it is case sensitive, and you must enter any special characters it uses. You can find your exact SSID by looking in your phone’s WiFi settings. It should be the network your phone connects to when at the location.

- Zink may fail if there is a space in your SSID.

- Your network SSID or network name can NOT be hidden.

- You cannot use a guest network.

- If your router is a dual band router, meaning it supports both 5.0Ghz and 2.4Ghz networks, be sure to only use the 2.4 Ghz network for Zink setup.

- The WiFi password MUST be WPA or WPA2. WEP is not secure and will not be recognized.

- Passwords and SSID names should be a minimum of 6 characters, WiFi networks with no password (open network) are not considered secure. Zink setup will not work with an open network.

- Must be connected to router or modem. Cannot guarantee success with extenders, boosters, hot spots, etc.

- Some mobile devices may require you to disable mobile data during the setup process. If the setup doesn't go past the screen where you enter the SSID, try disabling the mobile data on the phone.

- The “Smart Network Switch” feature available on many phones will need to be turned off during the Zink process.


Light has gone solid blue, phone no longer sees ZMD_SAP as an available network.

Sometimes, Zink connection was successful, however the connection process took so long; the mobile app does not know that Zink connection was successful.  We call this issue the "Timeout Error."  

To resolve this, first verify that the light on the camera is solid blue, which indicates it is connected to WiFi. Next tap the plus sign and select the “Wireless device, and Smart kit” option, then select “Wireless Device”. This will search your router for any devices that are already connected to your network. It should then show a list of any available cameras. If it requests the number of cameras at this point, then that indicates it did not find any on your network. Check the WiFi you are connected to, make sure the light is blue, and try again. 

Wireless connection using ZINK with Android

Wireless connection using ZINK with iPhone (iOS)


Can I use Satellite Internet to see my DVR? --No.

$
0
0

The short answer is no. In addition Zmodo does not support or assist in the setup of a DVR to be viewed over satellite internet.


No matter what your source of internet is, you will always be able to view your DVR over a computer at the SAME LOCATION assuming both the computer and DVR are connected to the same router. However...


Viewing a DVR from a remote location is a little more difficult, and due to the setup process and the way the internet works, satellite internet does not allow you to view it from outside the local network because you do not have access to the proper equipment to port forward for the DVR correctly.  Many satellite providers will not allow you to port forward unless you pay for a business class connection and get a static IP.


In addition to the issue of port forwarding, the low upload speed and latency issues over satellite internet can cause issues with having a smooth video feed.  Even with the great strides that satellite internet providers have made, due to the fact that the signal must travel to space and back, it still causes extreme latency issues.

Manual for the DT-SIN4, DT-SIL4 and DX-SIN8, DX-SIL8

Manual for the DT-SAN4, DT-SBL4 and DX-SAN8, DX-SBL8

Manual for systems ZP-NC14-S, ZP-NC18-S, ZP-NE18-S, ZP-NL14, ZP-NL18

Wireless camera setup using ZINK with Android

Wireless camera setup using ZINK with iPhone (iOS)

Zink Troubleshooting Guide.

$
0
0

Troubleshooting Zink


Phone does not progress past the SSID and Password screen.

This means the phone has not completed the setup. Typically this is caused by the phone receiving internet from another network. Try the steps below to resolve the issue.

- Go back to the WiFi settings, verify you are still connected to the ZMD_SAP network.

- In the phone's settings, temporarily turn off mobile data until the setup is complete.

- Reboot the phone.


Light Keeps Blinking Green throughout the Zink process.

Below are some settings that you will want to verify in order to ensure a smooth Zink setup 

- We recommend that the device you are setting up be within 10ft of the router during the Zink process in order to ensure success.

- An SSID is your WiFi network name. When entering SSID during the Zink setup, it is case sensitive, and you must enter any special characters it uses. You can find your exact SSID by looking in your phone’s WiFi settings. It should be the network your phone connects to when at the location.

- Zink may fail if there is a space in your SSID.

- Your network SSID or network name can NOT be hidden.

- You cannot use a guest network.

- If your router is a dual band router, meaning it supports both 5.0Ghz and 2.4Ghz networks, be sure to only use the 2.4 Ghz network for Zink setup.

- The WiFi password MUST be WPA or WPA2. WEP is not secure and will not be recognized.

- Passwords and SSID names should be a minimum of 6 characters, WiFi networks with no password (open network) are not considered secure. Zink setup will not work with an open network.

- Must be connected to router or modem. Cannot guarantee success with extenders, boosters, hot spots, etc.

- Some mobile devices may require you to disable mobile data during the setup process. If the setup doesn't go past the screen where you enter the SSID, try disabling the mobile data on the phone.

- The “Smart Network Switch” feature available on many phones will need to be turned off during the Zink process.


Light has gone solid blue, phone no longer sees ZMD_SAP as an available network.

Sometimes, Zink connection was successful, however the connection process took so long; the mobile app does not know that Zink connection was successful.  We call this issue the "Timeout Error."  

To resolve this, first verify that the light on the camera is solid blue, which indicates it is connected to WiFi.

Next tap the plus sign and select the “Wireless device, and Smart kit” option, then select “Wireless Device”.

This will search your router for any devices that are already connected to your network. It should then show a list of any available cameras.

If it requests the number of cameras at this point, then that indicates it did not find any on your network. Check the WiFi you are connected to, make sure the light is blue, and try again. 


Manual for ZMD-DH-SEN6

$
0
0

Here is the link for a manual. It is intended for the H9104V, H9108V, and H9116UVDH.


http://files.zmodo.com/Software%20Discs%20and%20User%20Manuals/User%20Manuals/ZMD-DH-SEN6%20USER%20MANUAL.pdf

How to Backup a Video Clip from a DVR or NVR (New Video Backup Method)

How do you install the Zmodo Smart Doorbell - ZH-CJAED?

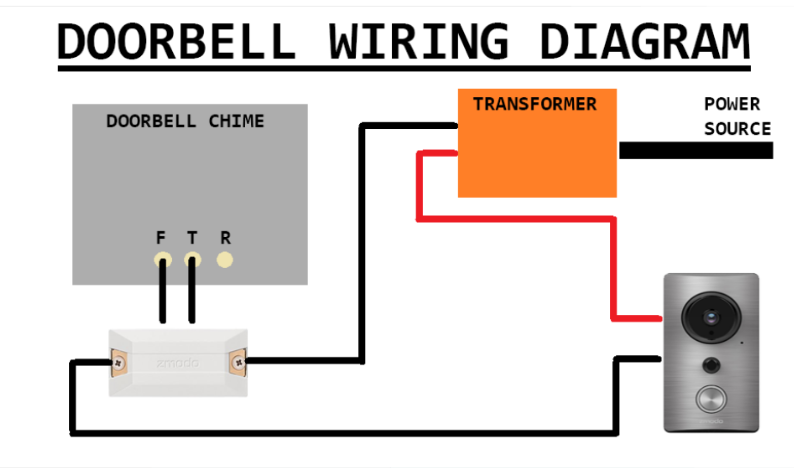
Smart Doorbell circuit diagram

Wireless camera setup using ZINK with Android

$
0
0

The following link contains a setup video that will walk you step by step through getting your camera connected on your Android device:

Android Zink Video 

If you attempt the ZINK connection and the connection fails, please see troubleshooting tips in the link below:

 Zink Fail


Viewing all 208 articles
Browse latest View live